01
INTRODUCTION
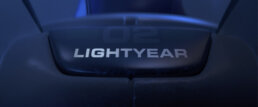
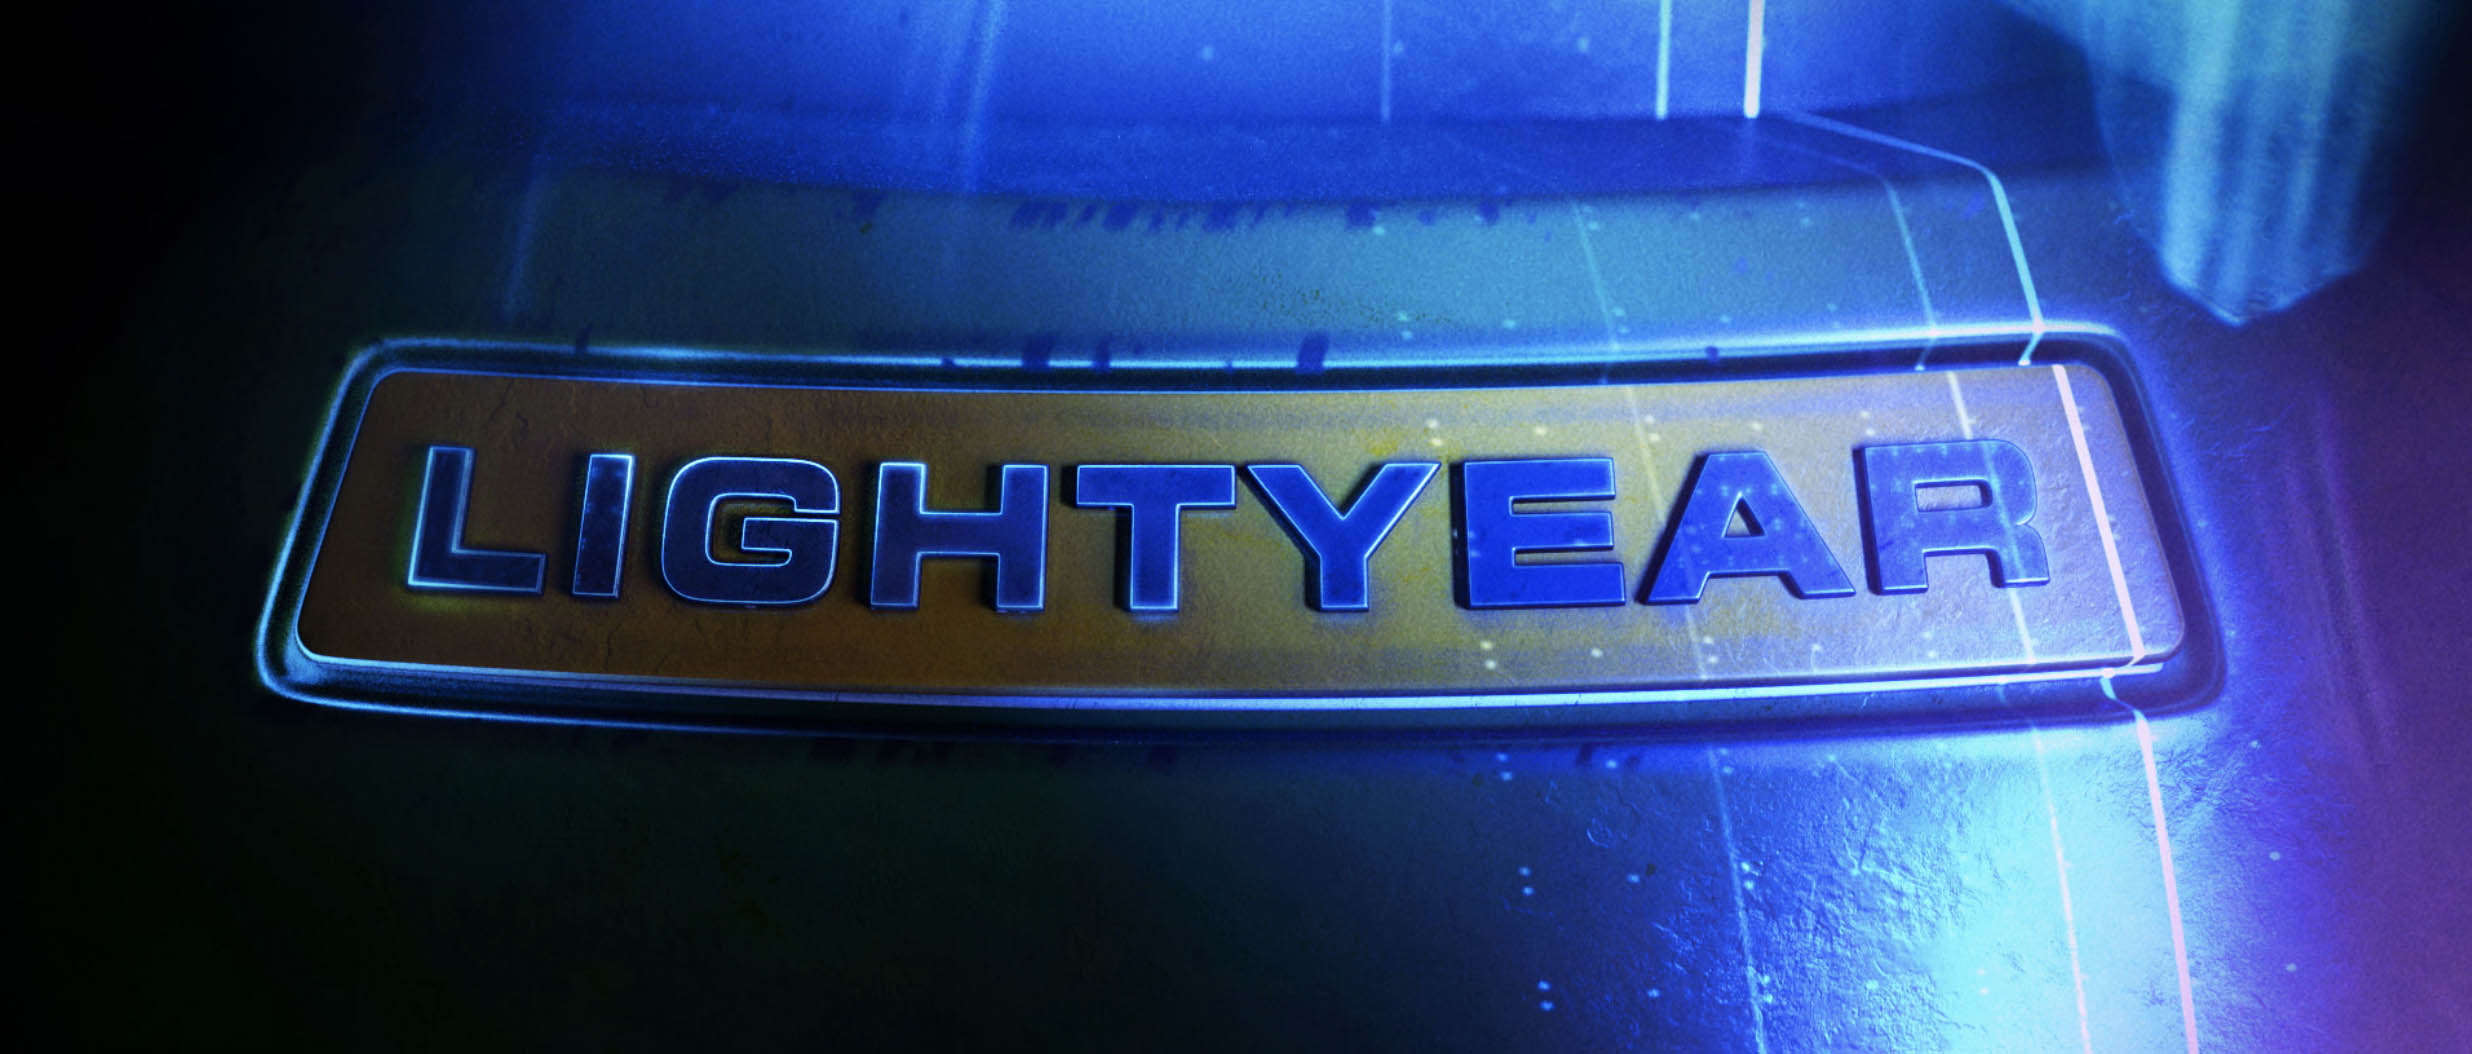
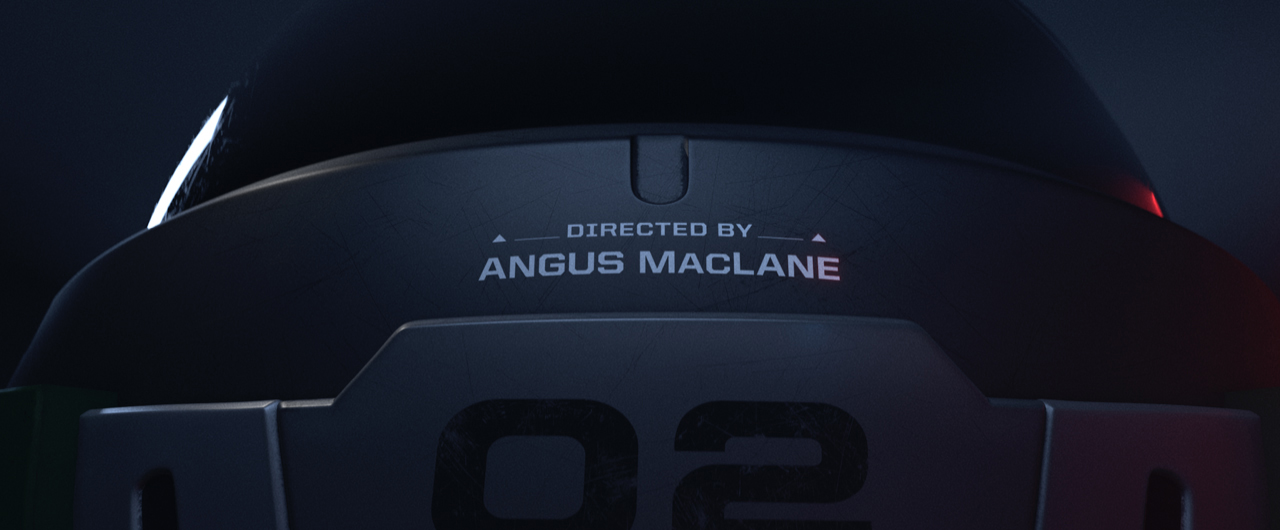
Our team at Perception collaborated with the innovative team at Pixar Animation Studios to design and animate an epic main on end title sequence for their newest film, Lightyear. Directed by Angus MacLane, Lightyear reflects the film that the Buzz Lightyear action figure from Toy Story is based on. Our team was brought on to create a title sequence that would match the stunning visuals and dynamic animation of Lightyear.
Lightyear Main On End Title Sequence
02
BACKGROUND
During the production of the film, Director Angus MacLane knew he wanted to include a unique title sequence that had a heroic, science-fiction feel. The Pixar team had pulled references to title sequences from shows and movies that they liked and were inspired by, and a majority of those sequences were ones that we had designed. Pixar then contacted our team to discuss regions of interest, conceptual development and Angus MacLane’s vision for the title sequence.
Lightyear Main On End Title Sequence Animatic
03
INSPIRATION
Before presenting our ideas to Pixar, our team watched an early cut of the film. We noted that Lightyear was inspired by classic science fiction films and the established science fiction design language of the late ‘70s and early ‘80s. With that knowledge, we began organizing different ideas and concepts, one of which celebrated the suits and ships of the Buzz Lightyear crew.
Early Concept Development Frames
04
LIGHTING
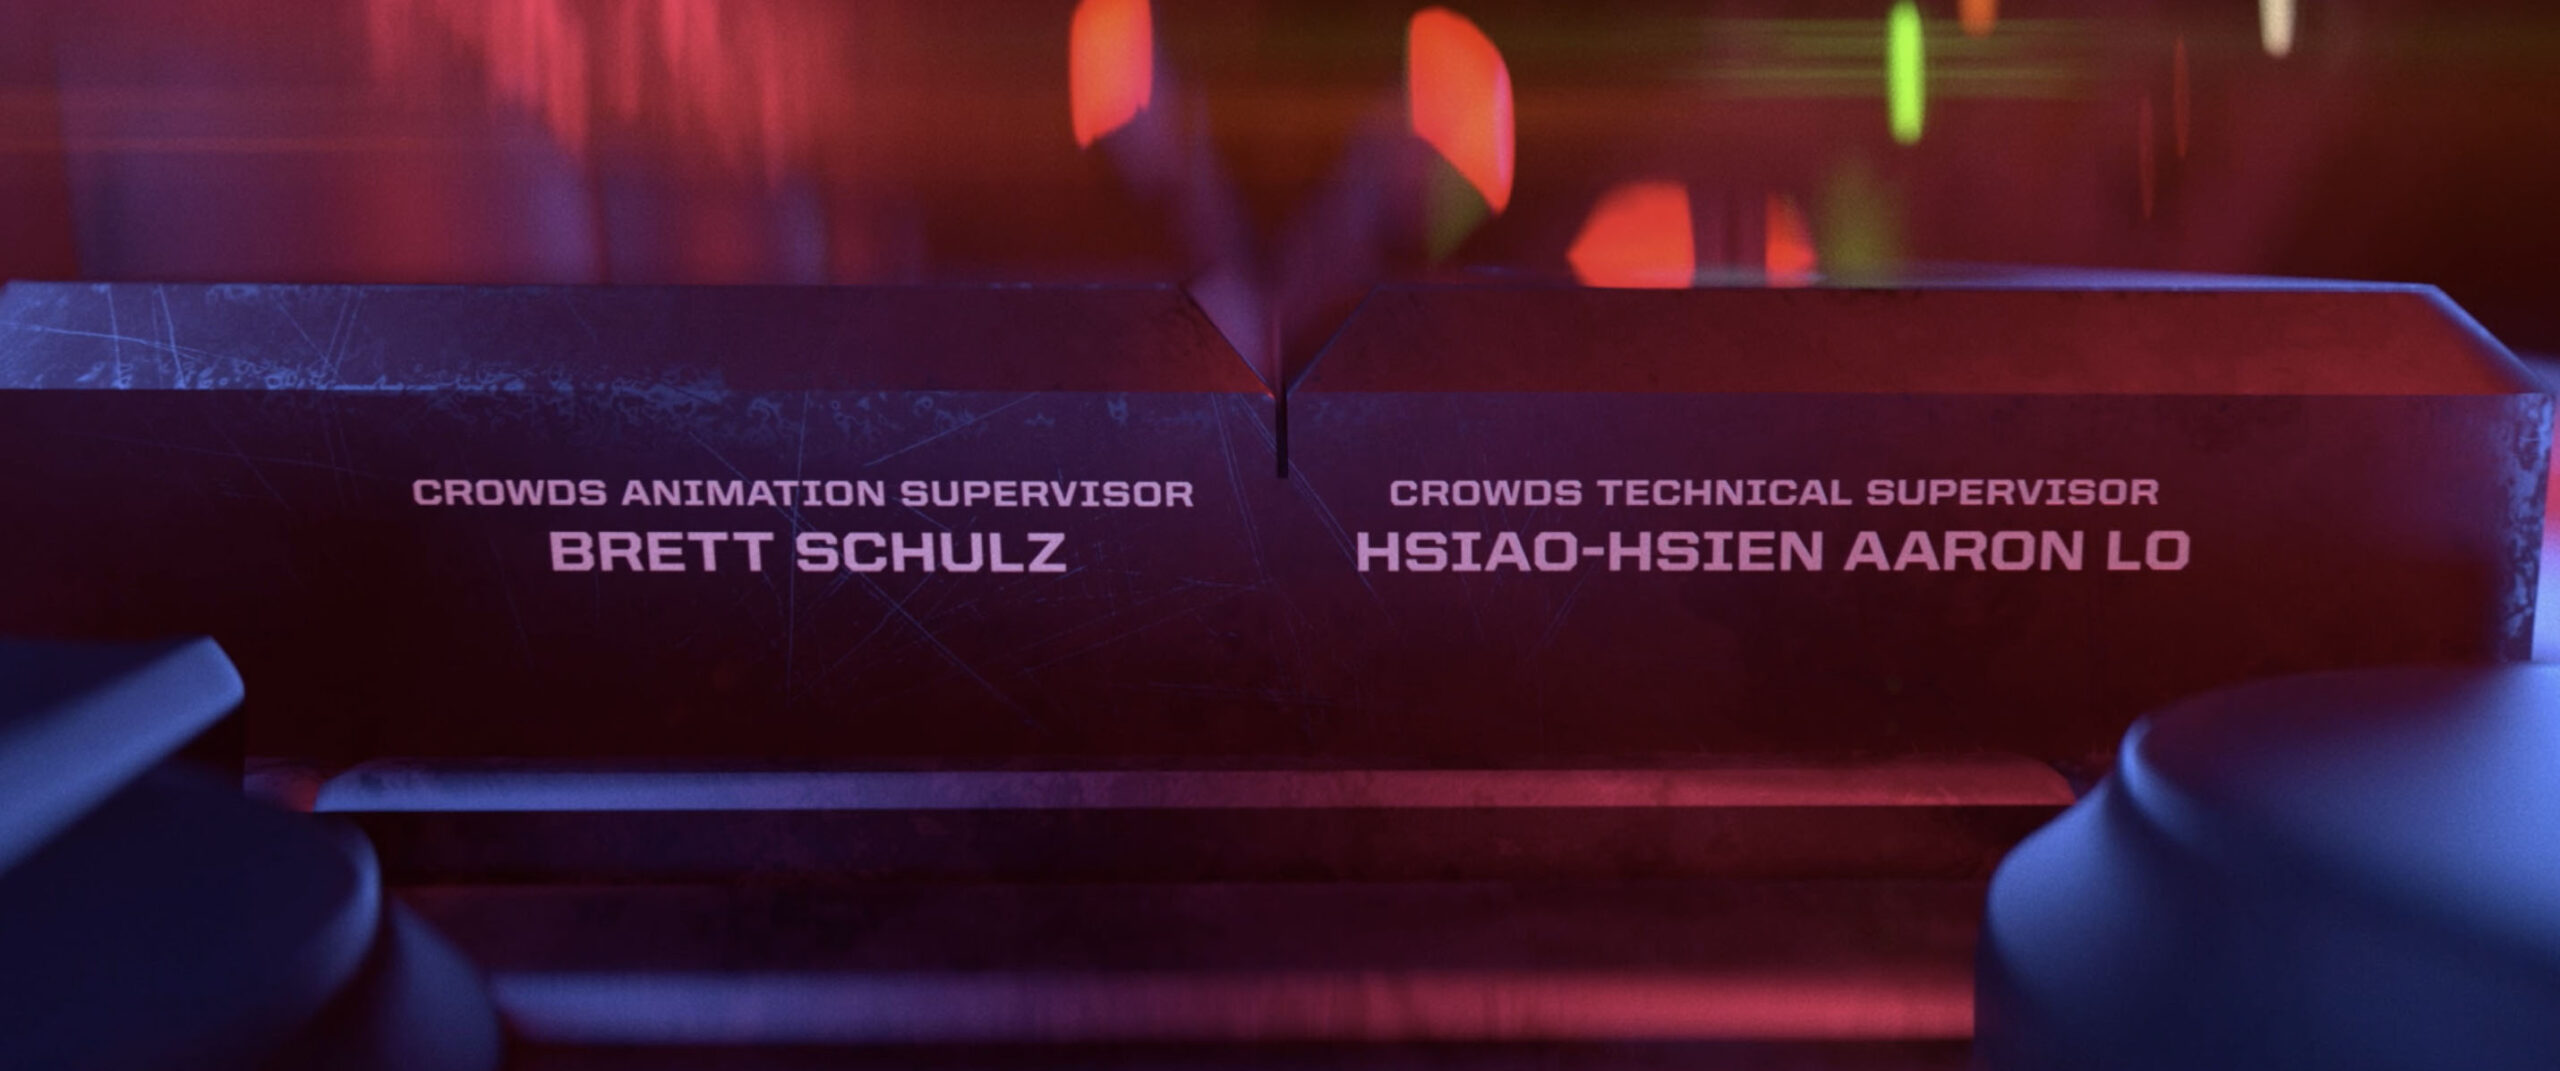
To follow the themes of classic science fiction films, we wanted this title sequence to feel moody. One of the ways for us to do that was through lighting. By using darker, smokier lighting, this sequence resembled the tone of the ‘70s and ‘80s science fiction films. However, we also used bright details and elements included within the suits and ships to bring out the colorful, vibrant nature that is a trademark of Pixar.
Lighting played a large role in the development and design of this sequence. Since this title sequence is a close-up tour of the suits and ships of the Lightyear universe, we had to be mindful about making sure they didn’t feel like they were floating in blank, empty space. We used atmospheric lighting to create a space that had significant depth and volume in it, while also guaranteeing that the close-up object was the main focus of the shot rather than the area that object is located in.
EARLY VISUAL DEVELOPMENT AND LIGHTING TESTS


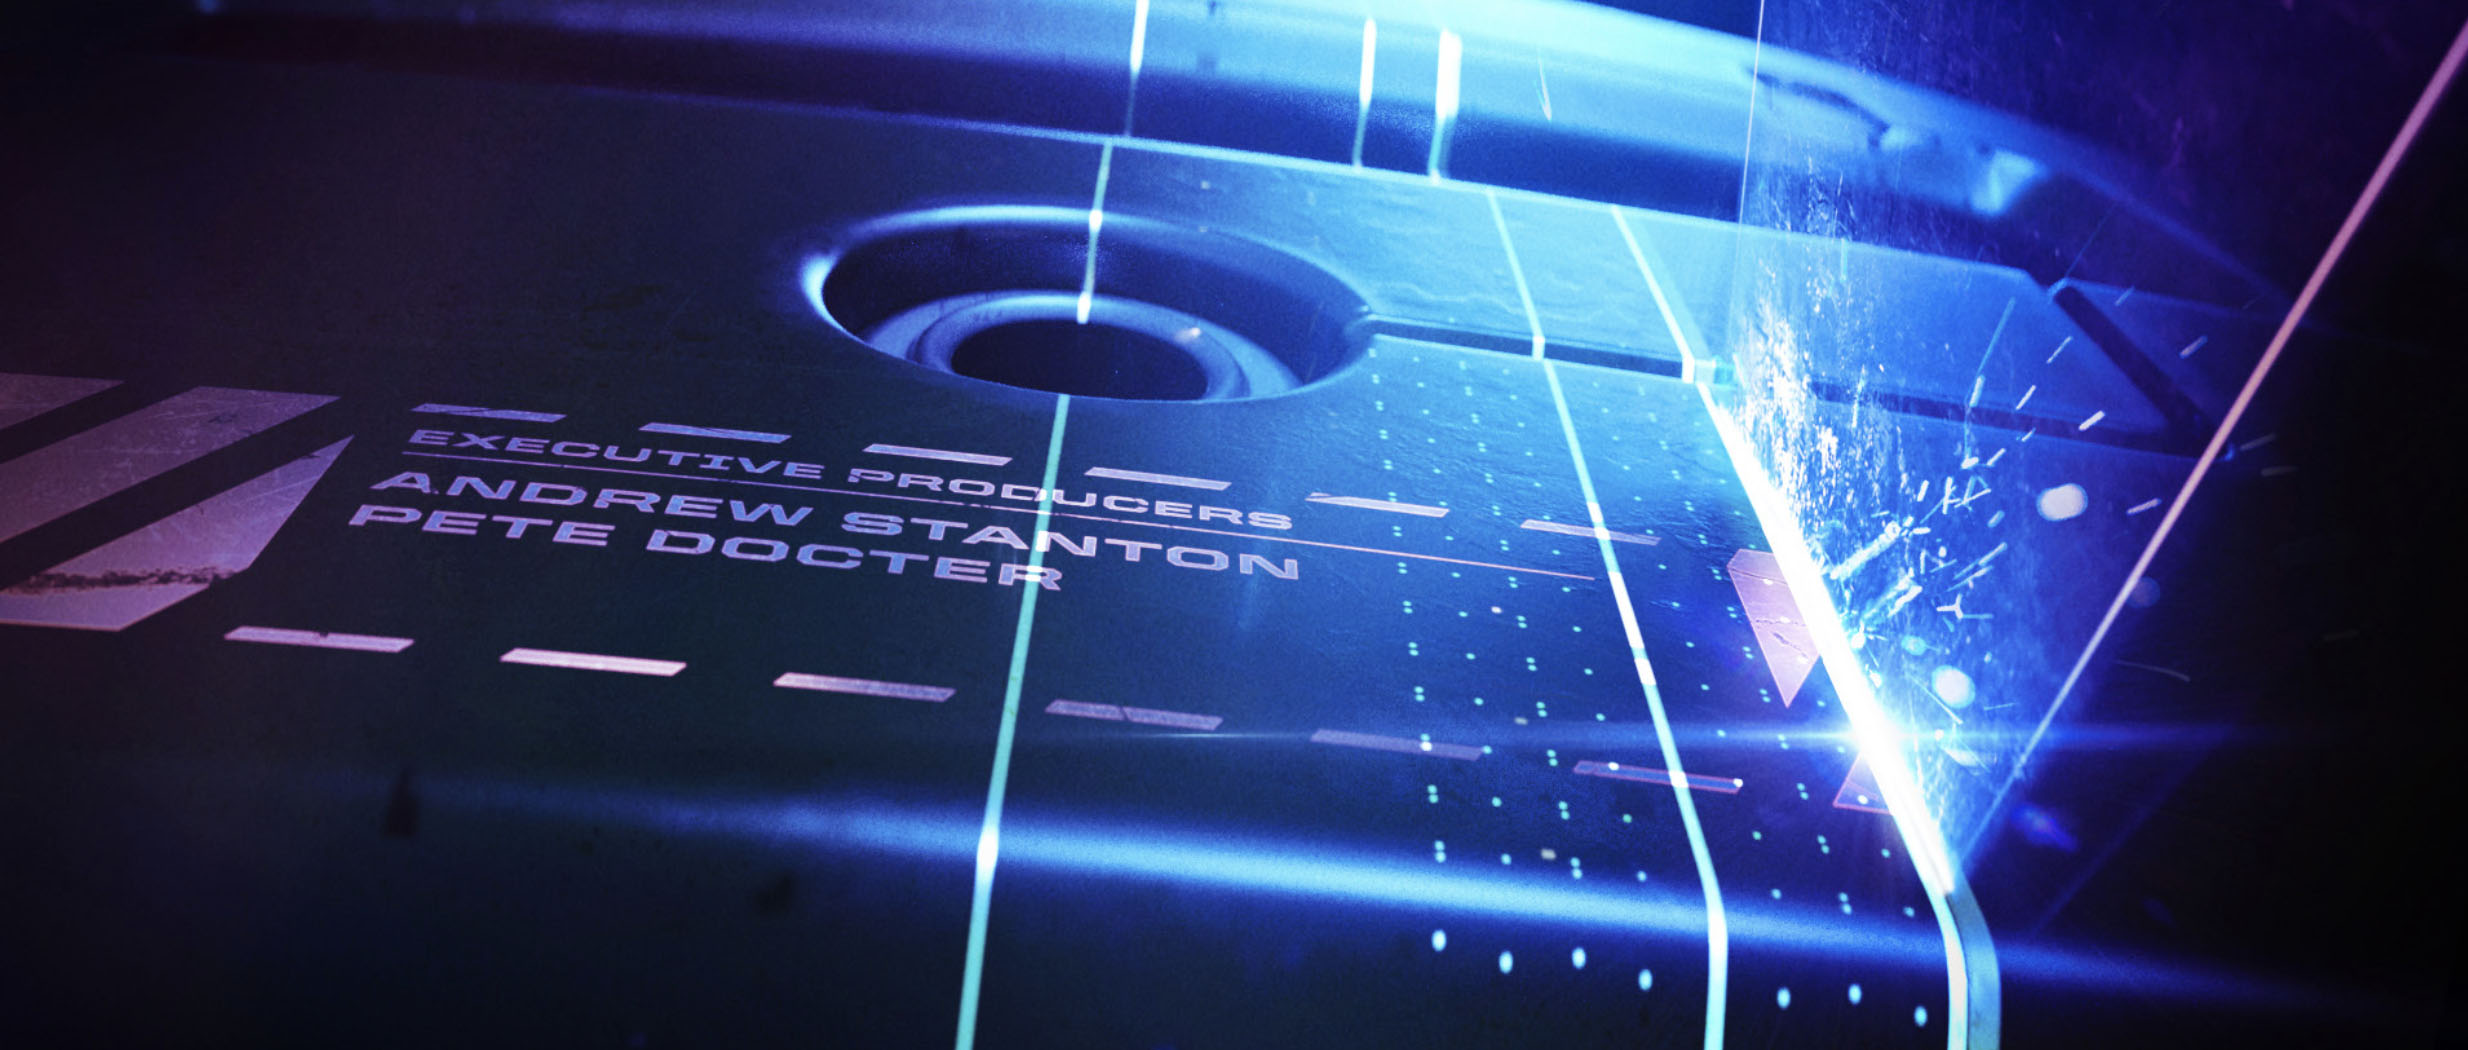
Even with such a dark and moody sequence, we still wanted the objects within the sequence to pop off the background. We spent time working on rim lighting. Each of the 30 shots in this sequence has unique lighting to ensure that each of the details in the geometry were being highlighted. If one shot has the same object as an earlier shot, each shot was lit specifically for the camera to bring out the details in the model and the textures.
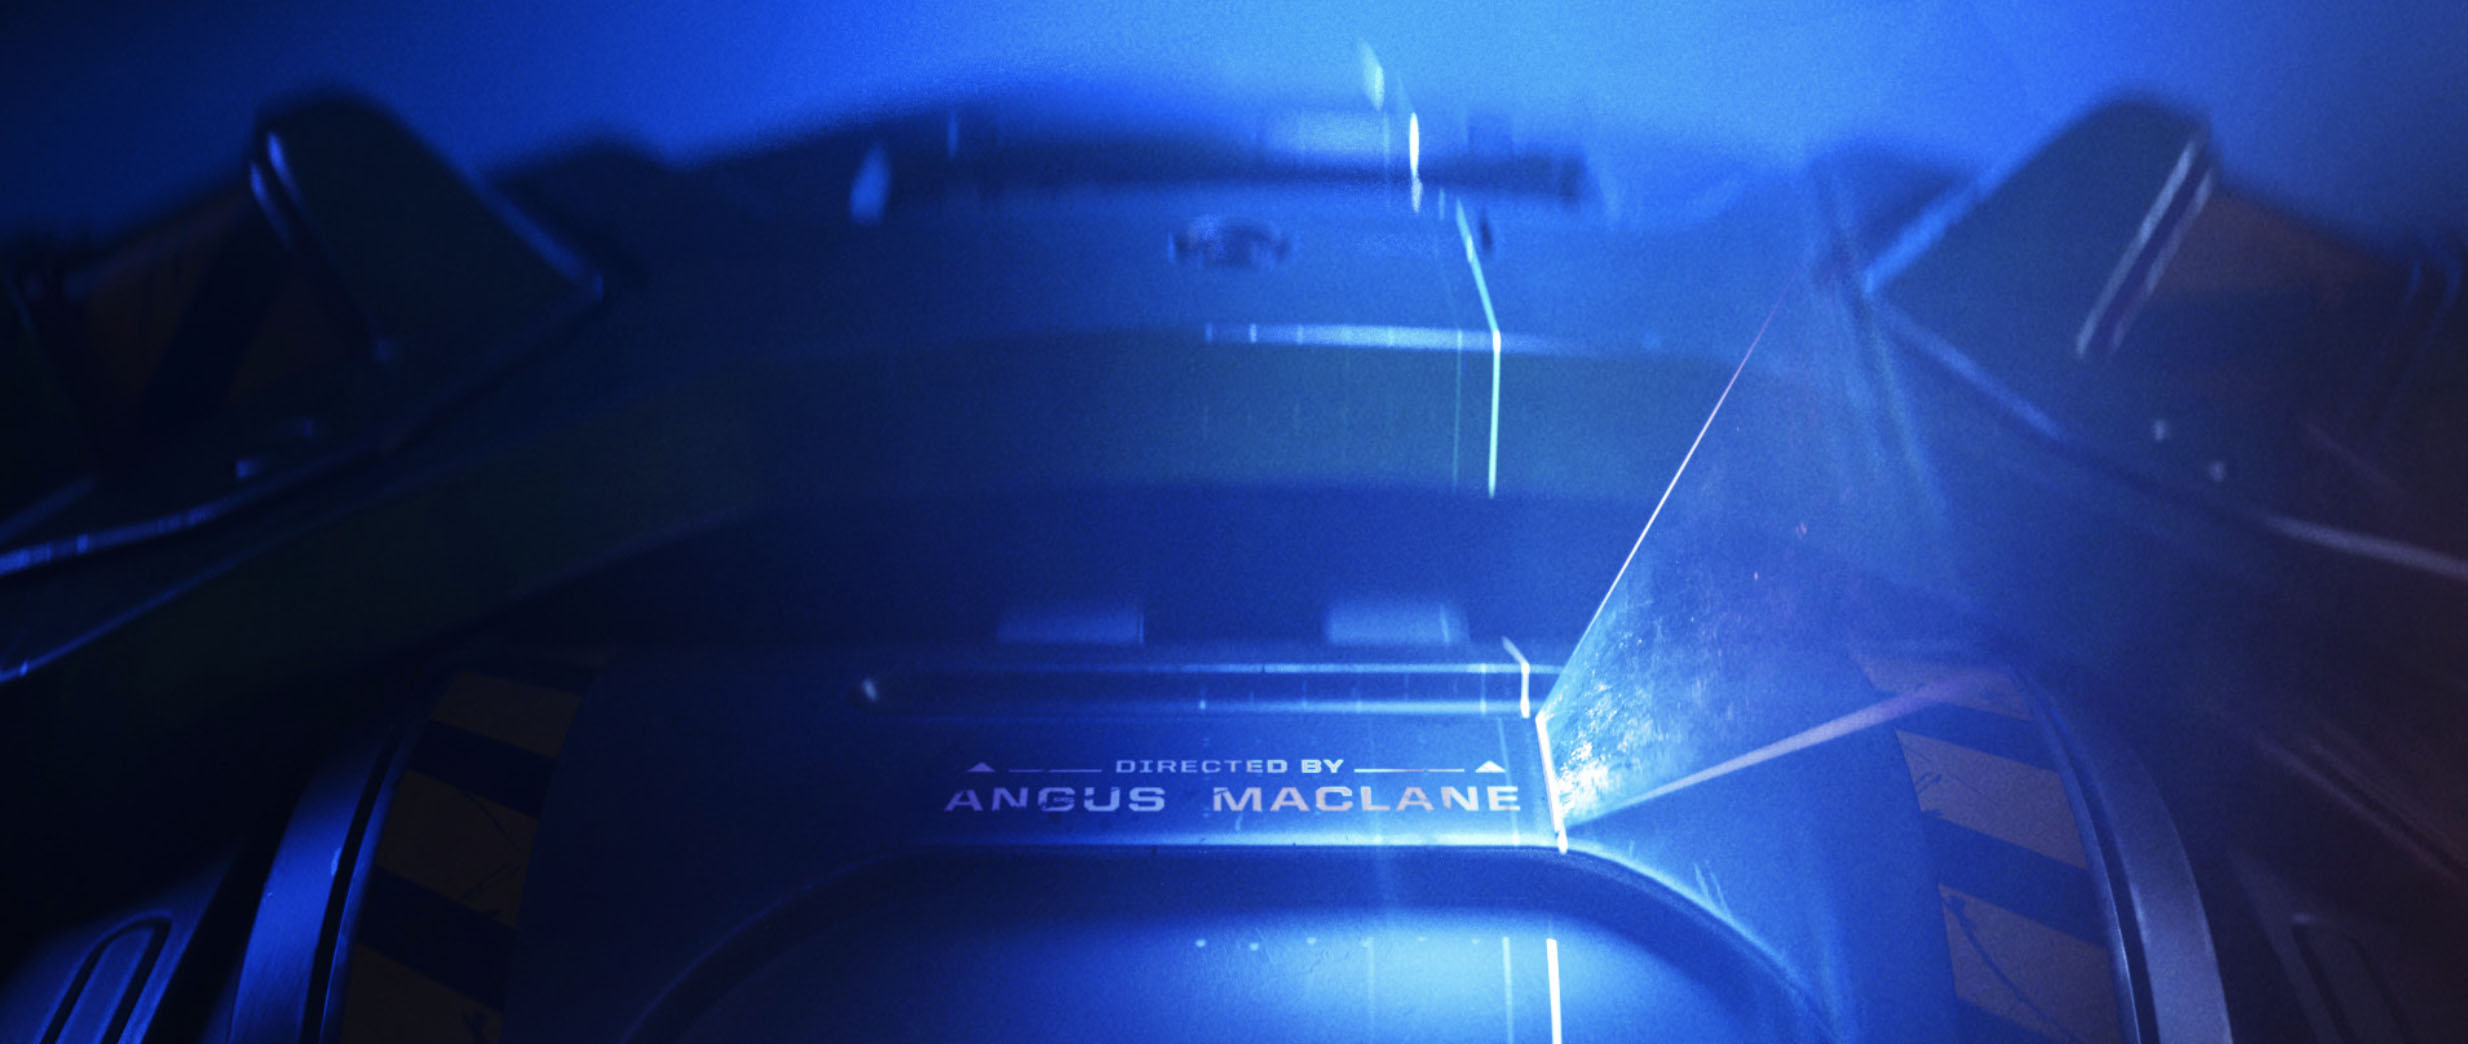
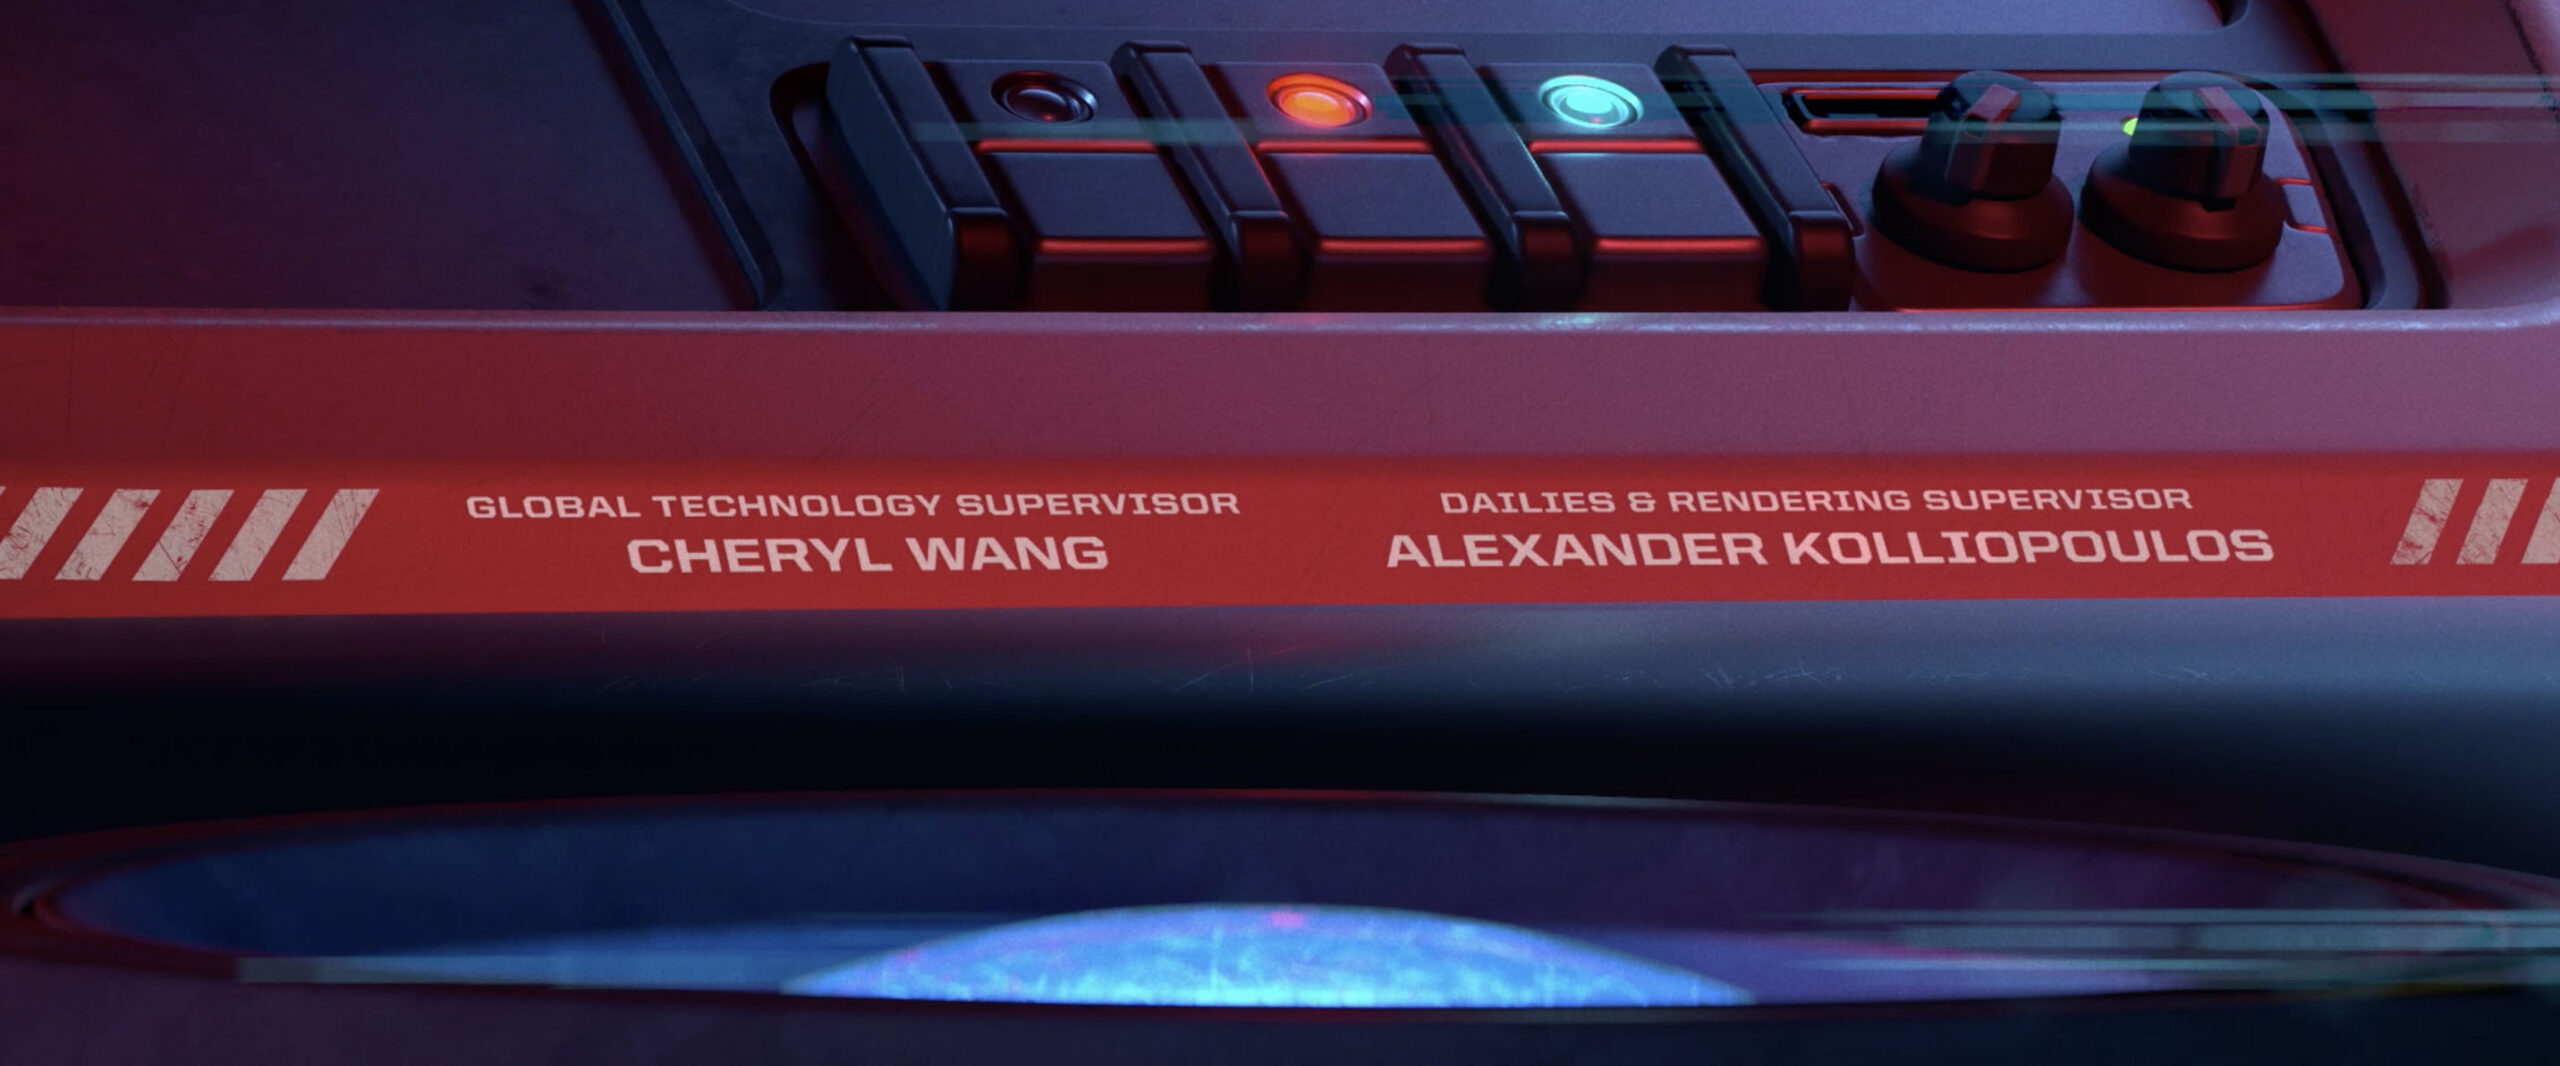
FINAL LIGHTING AND LOOK
05
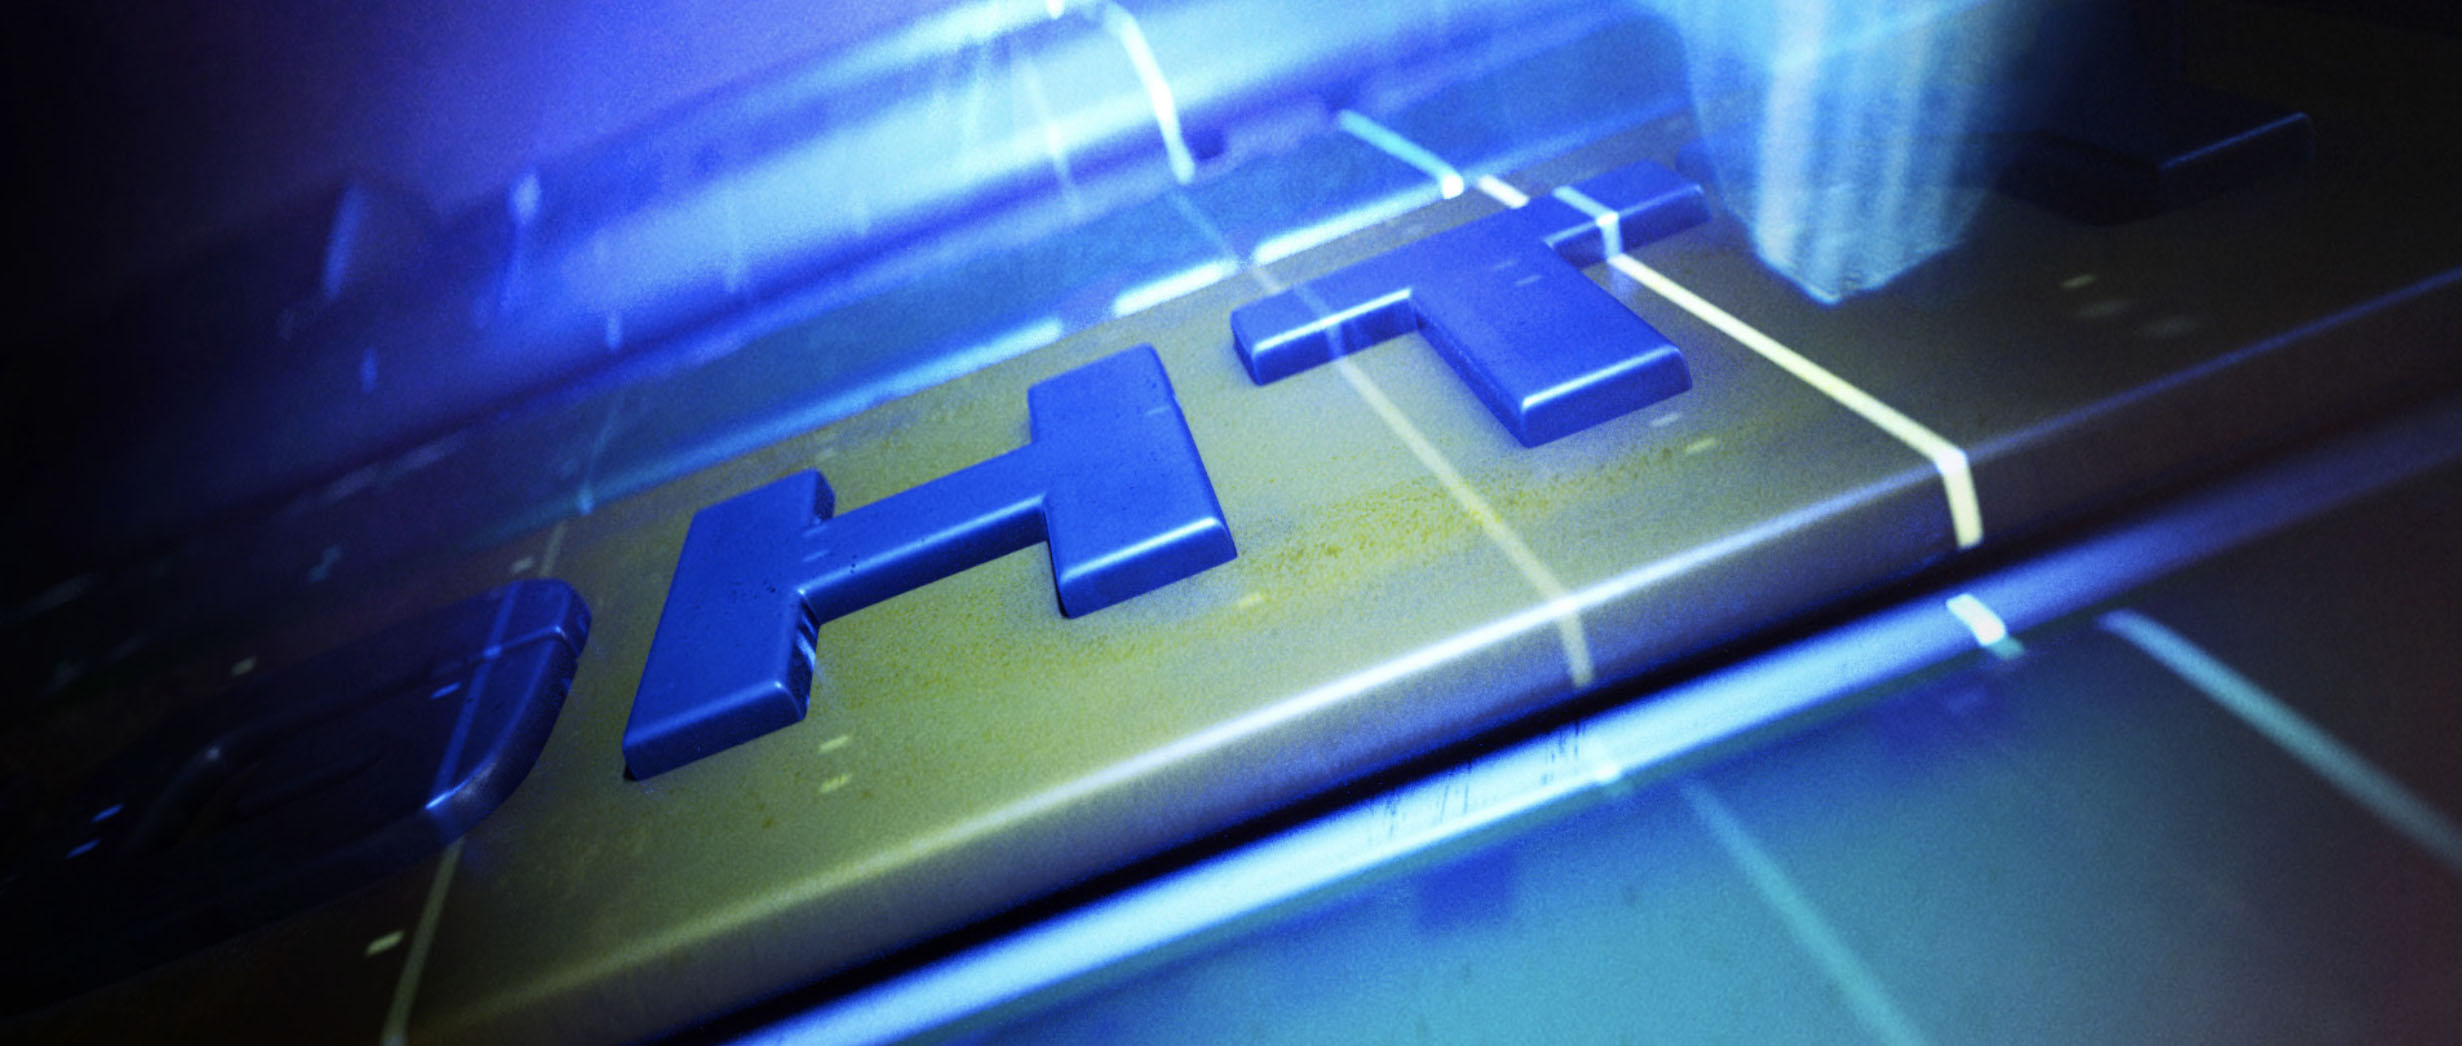
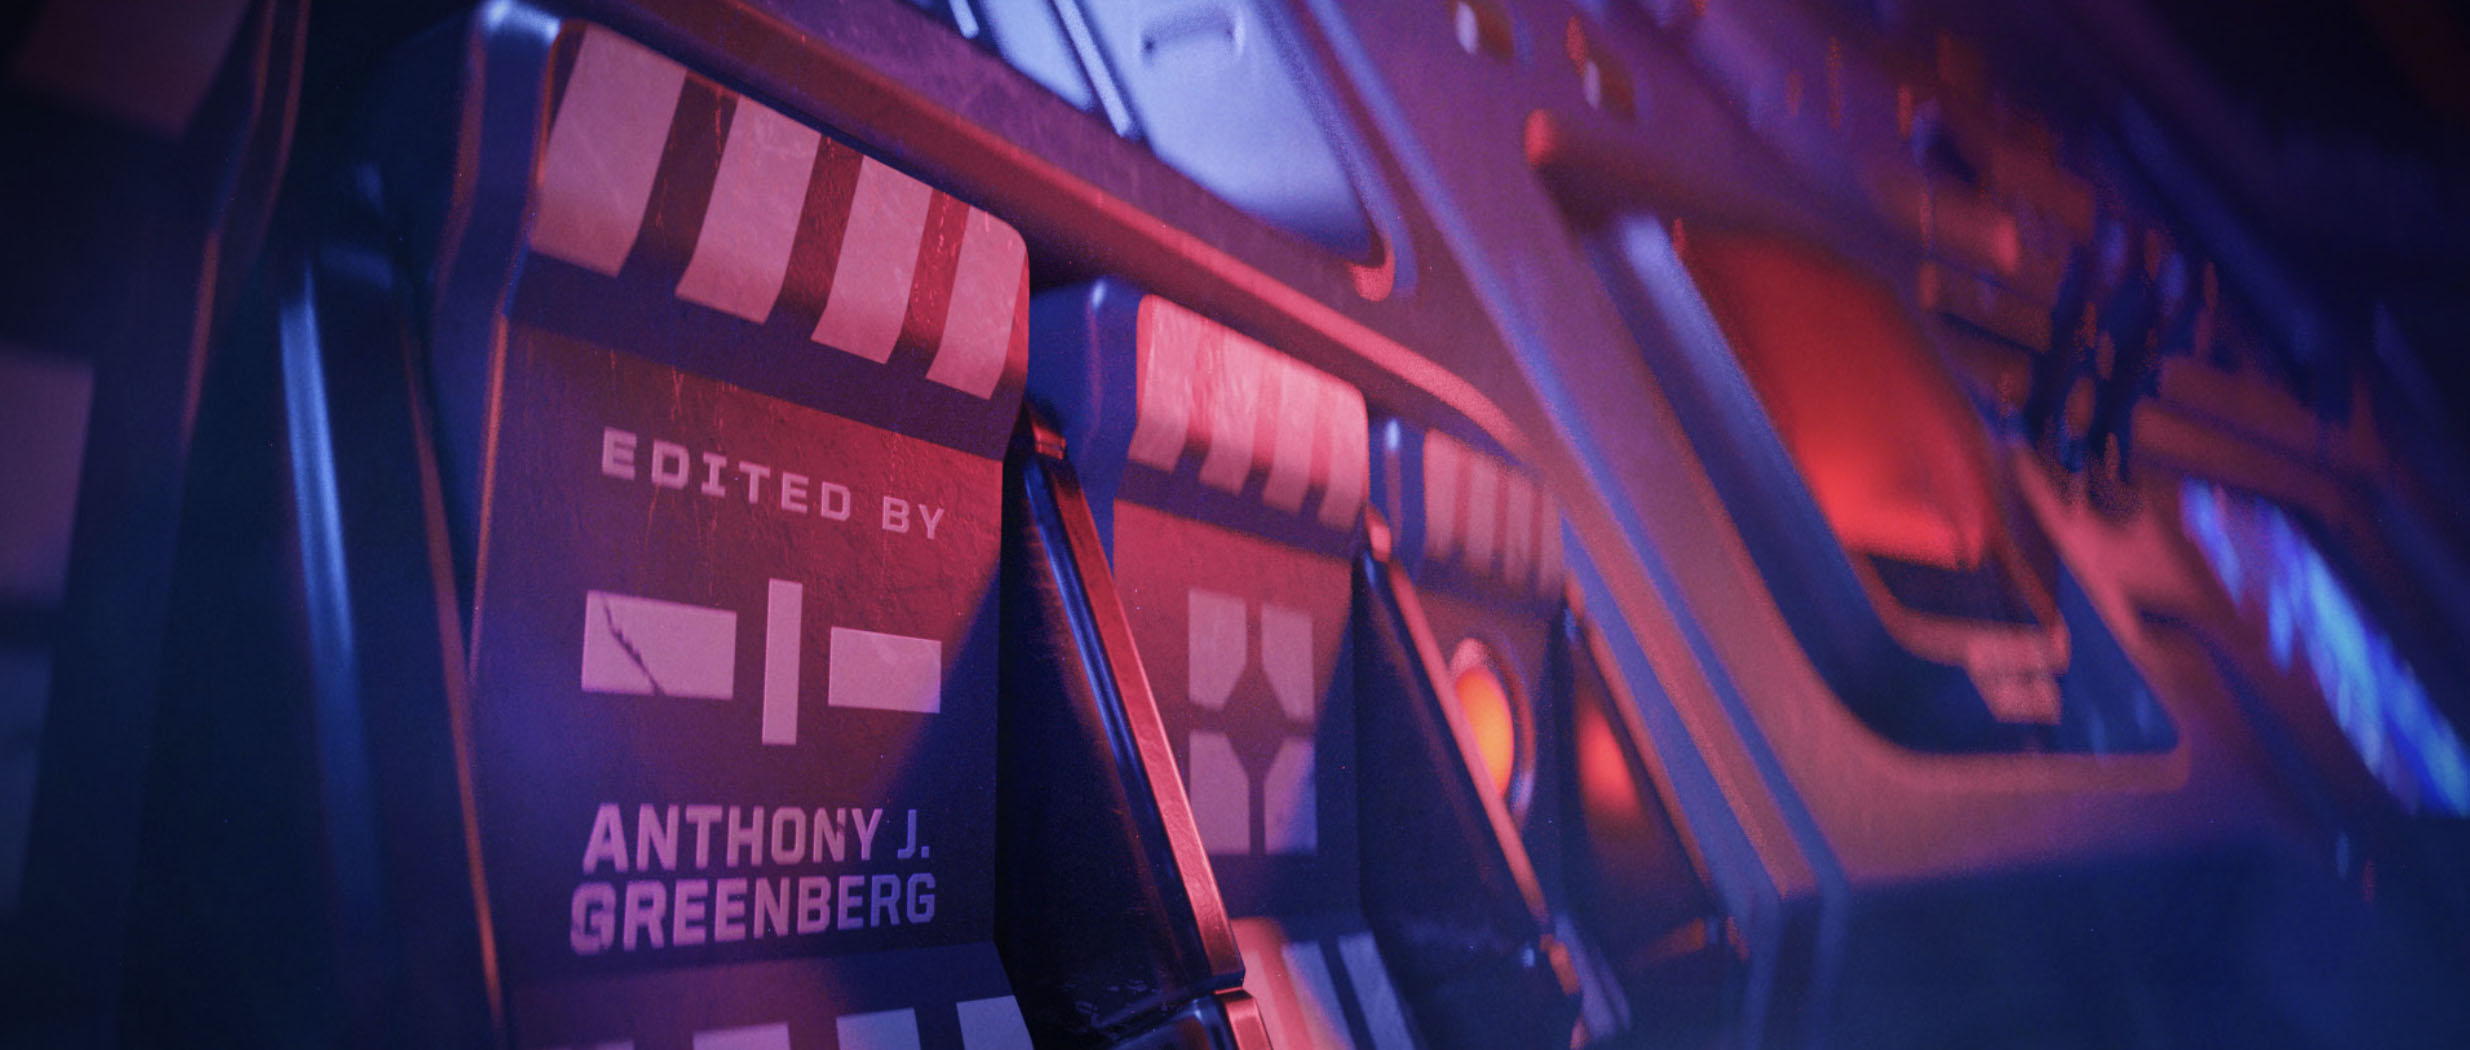
INTRICATE DETAILS
Pixar Animation Studios always produces films that include high levels of detail and complex animation. Our goal was to replicate each of these fine details and add elements of realism to the objects in our title sequence.
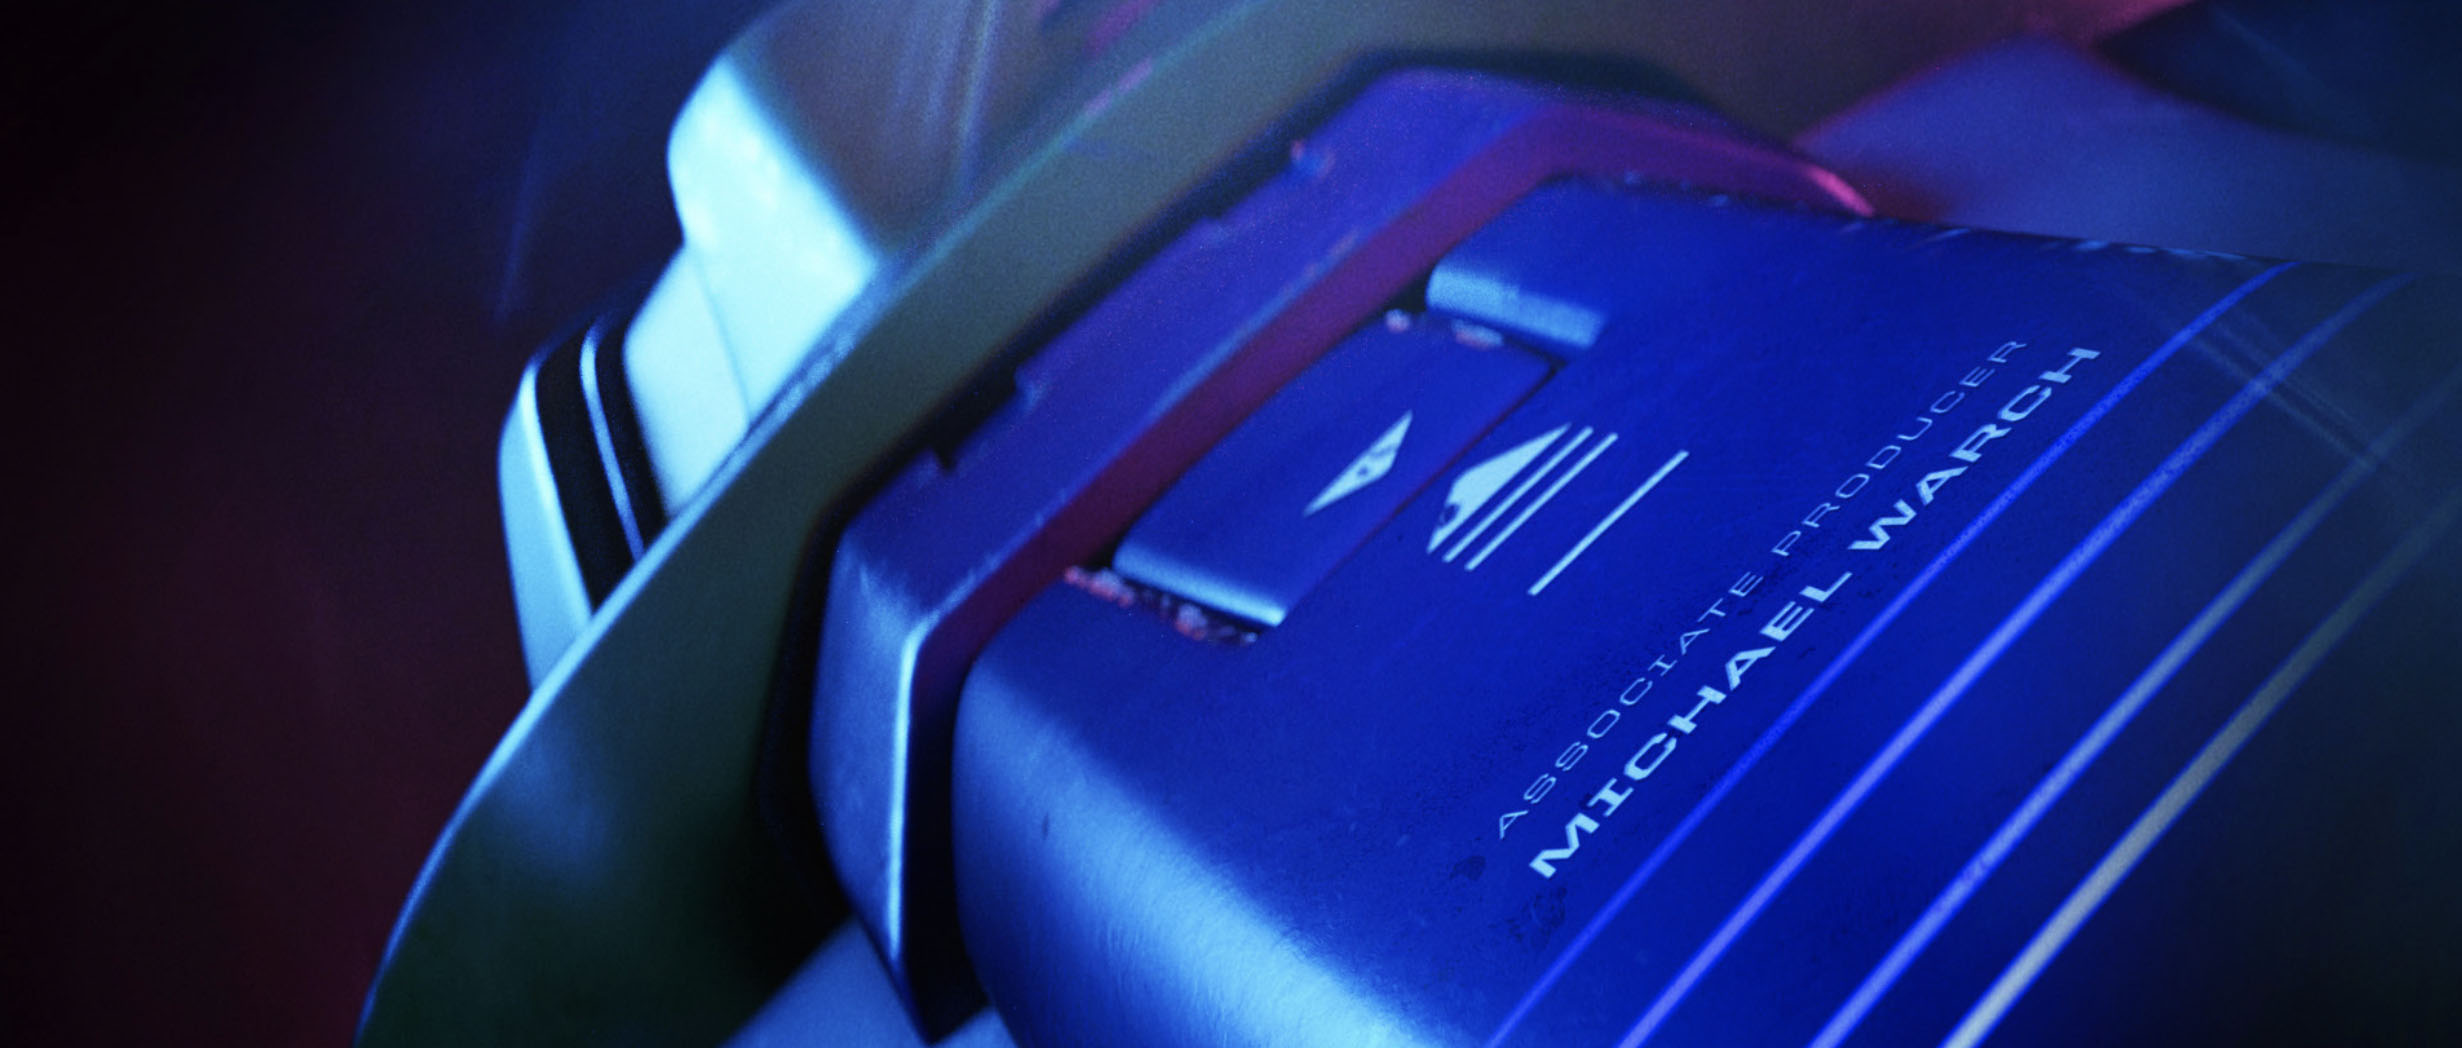
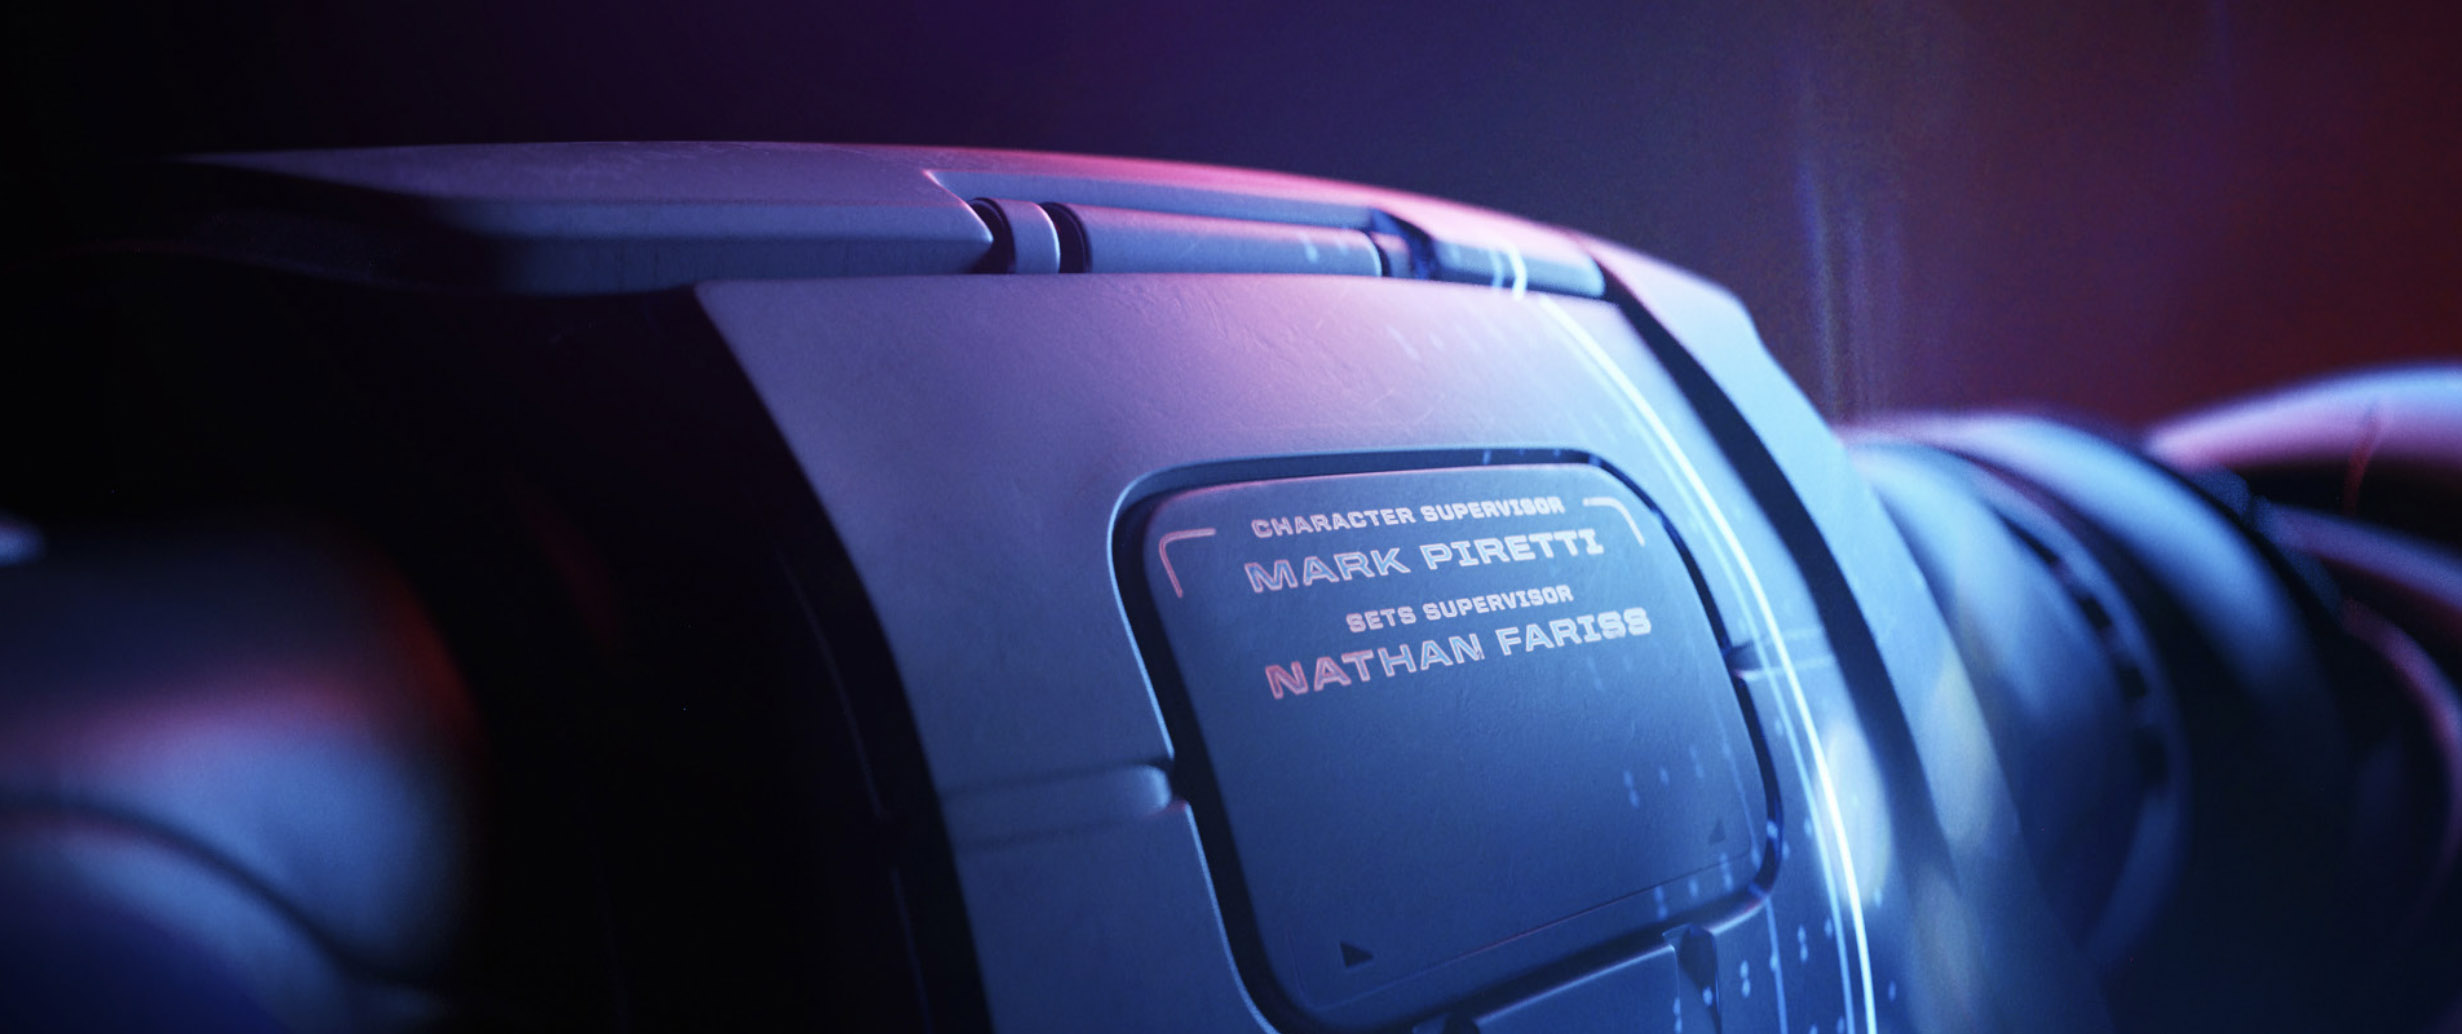
In the real world, things that have been used are not perfect. They’re damaged, chipped, and worn. Our team knew that if we made the suits look too shiny and clean, they could be mistaken as new toys. Buzz Lightyear has a long history of being known as a toy, but in this film, he’s a real, active space ranger, rather than a toy. To emphasize that and further support it, we wanted the suits in the sequence to emulate a real-world level of wear-and-tear. We added paint chips and scuff marks in the metal to add realism and support Pixar’s high level of detail.
CHARACTER SUIT MODELS AND SHADING FOR SEQUENCE DEVELOPMENT
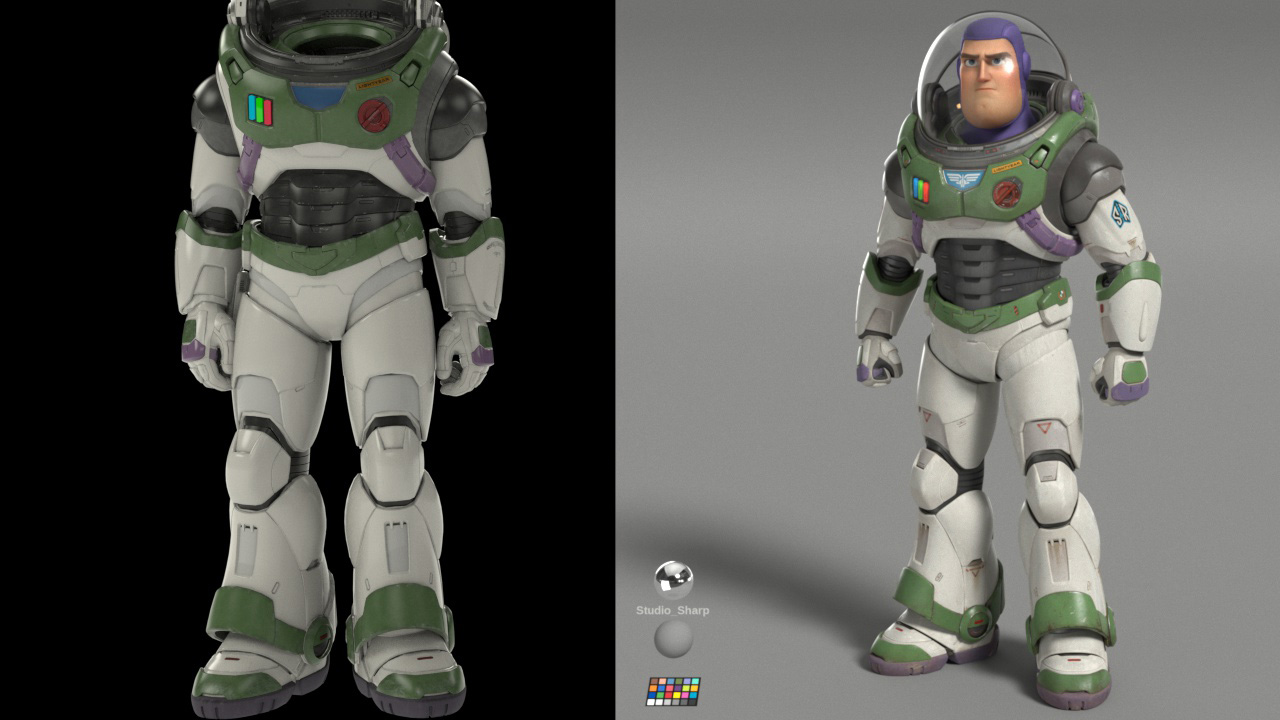
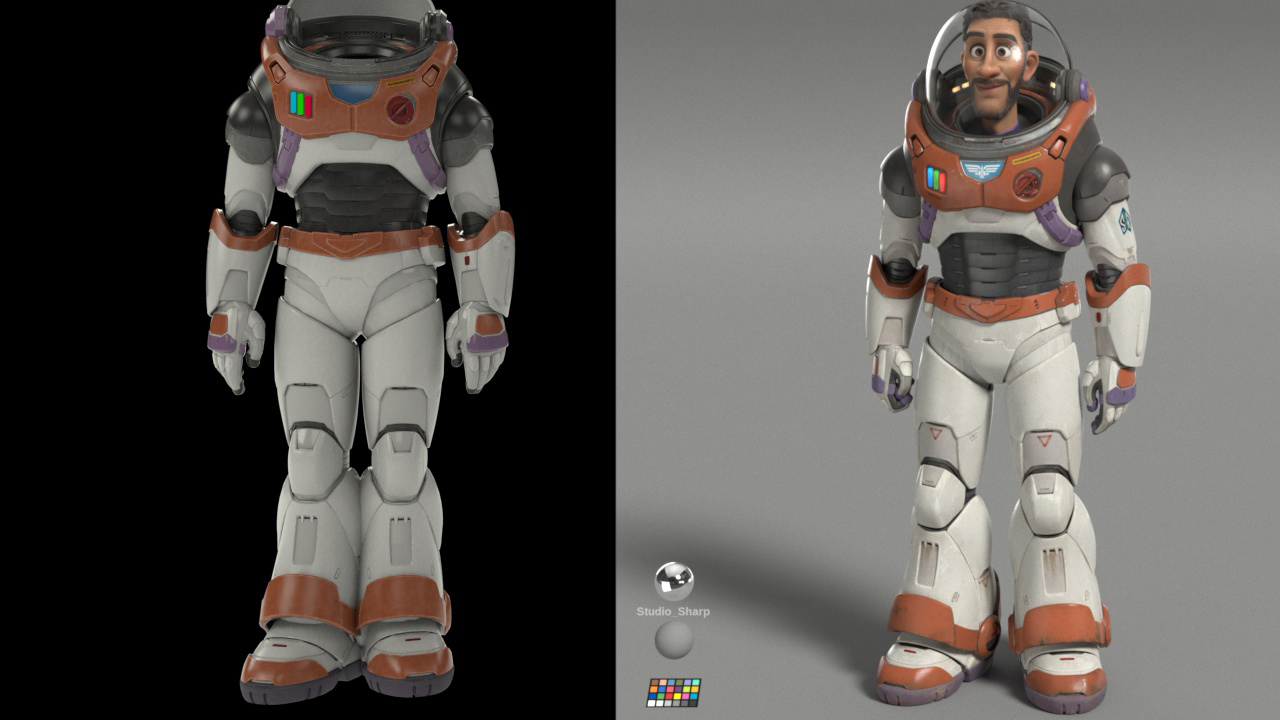
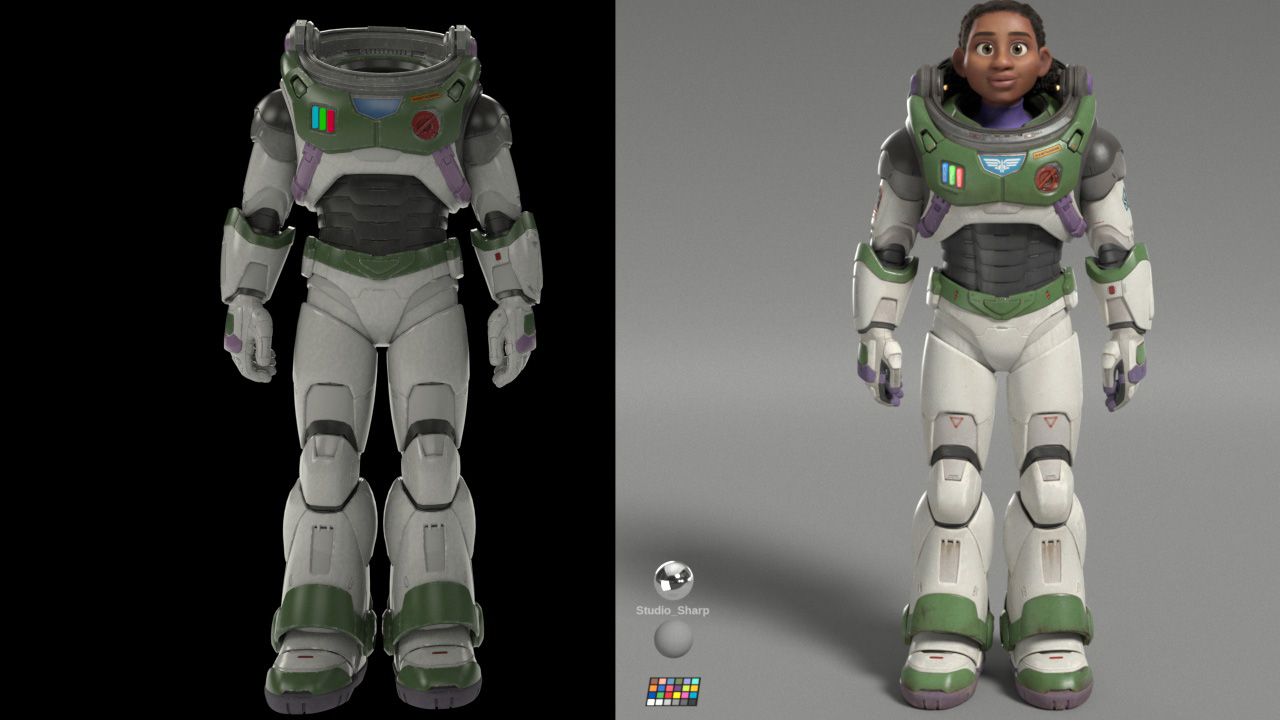
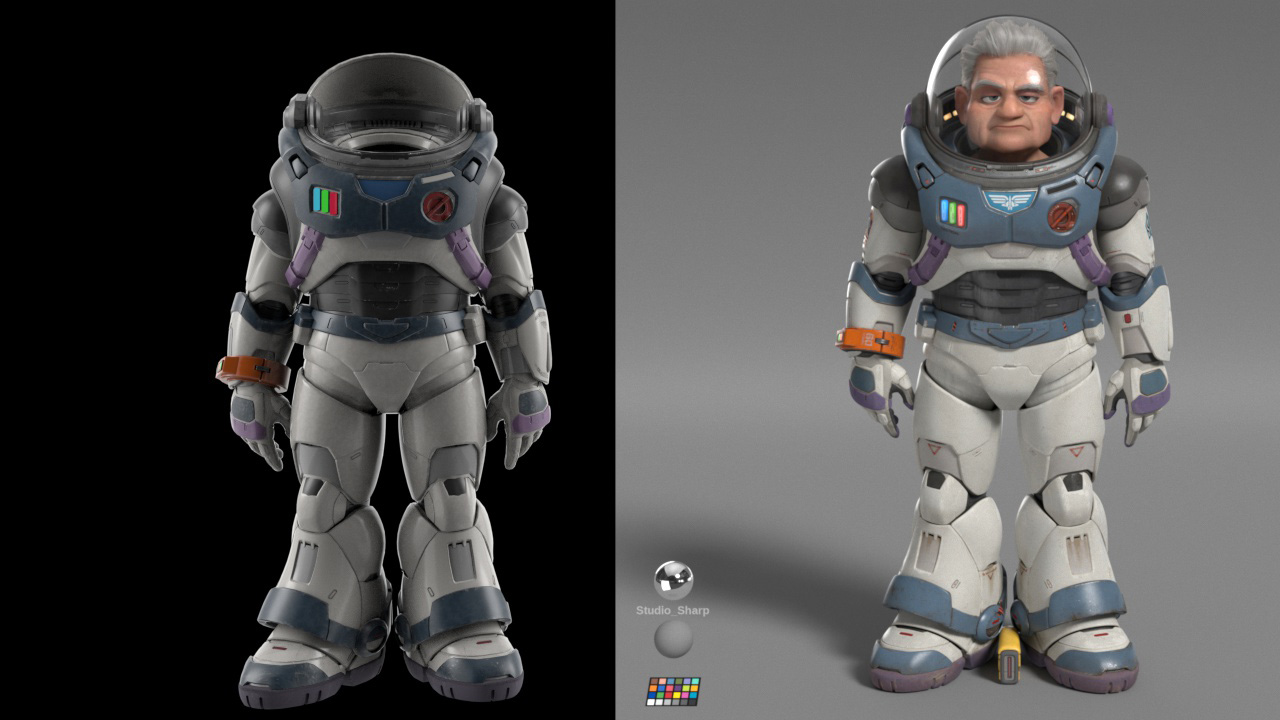
To support the realism of this sequence, our team researched different materials in the real world and how wear-and-tear affects them. We studied how paint chips off of metal based on several factors, such as color, thickness, and even temperature of the environment. We researched how scratches can appear on plastic, and how different objects make different scratches. We also studied how buttons are illuminated from internal lights and how the illumination is impacted by color, brightness, and the material that the button is made from.

06
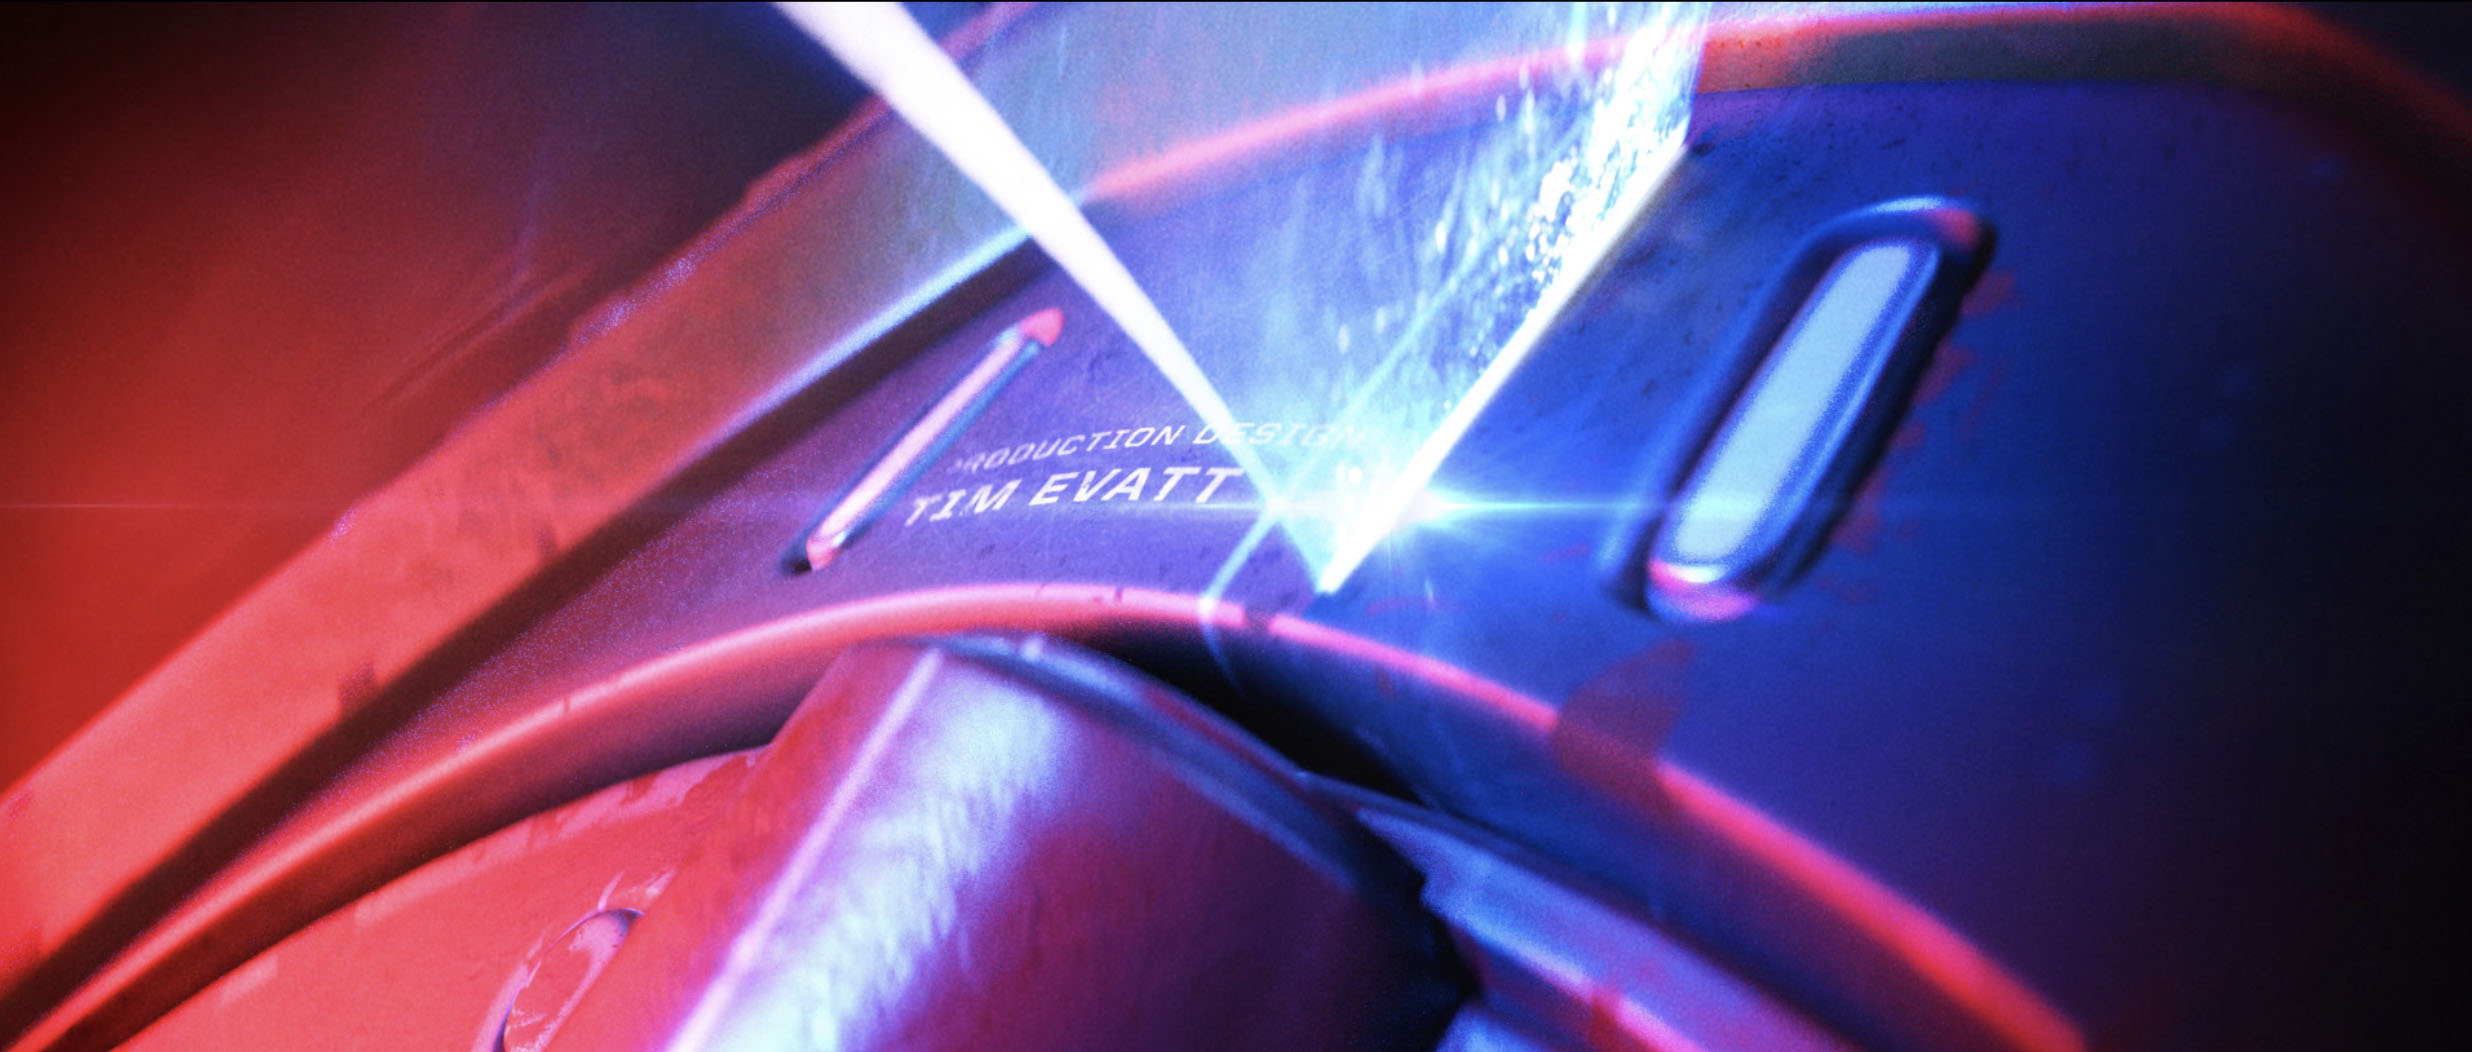
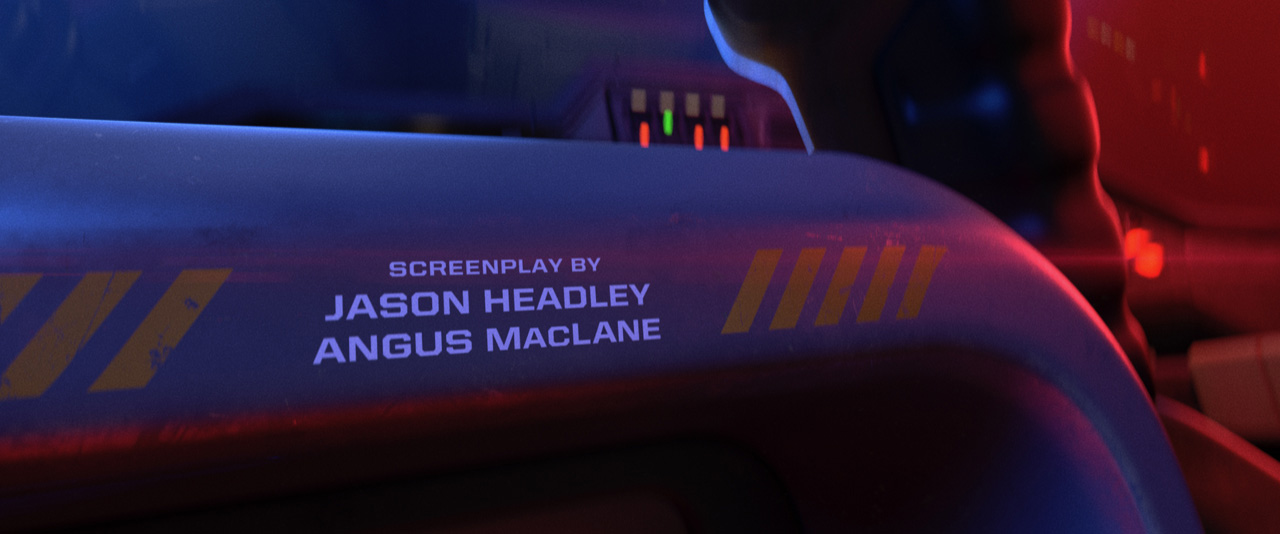
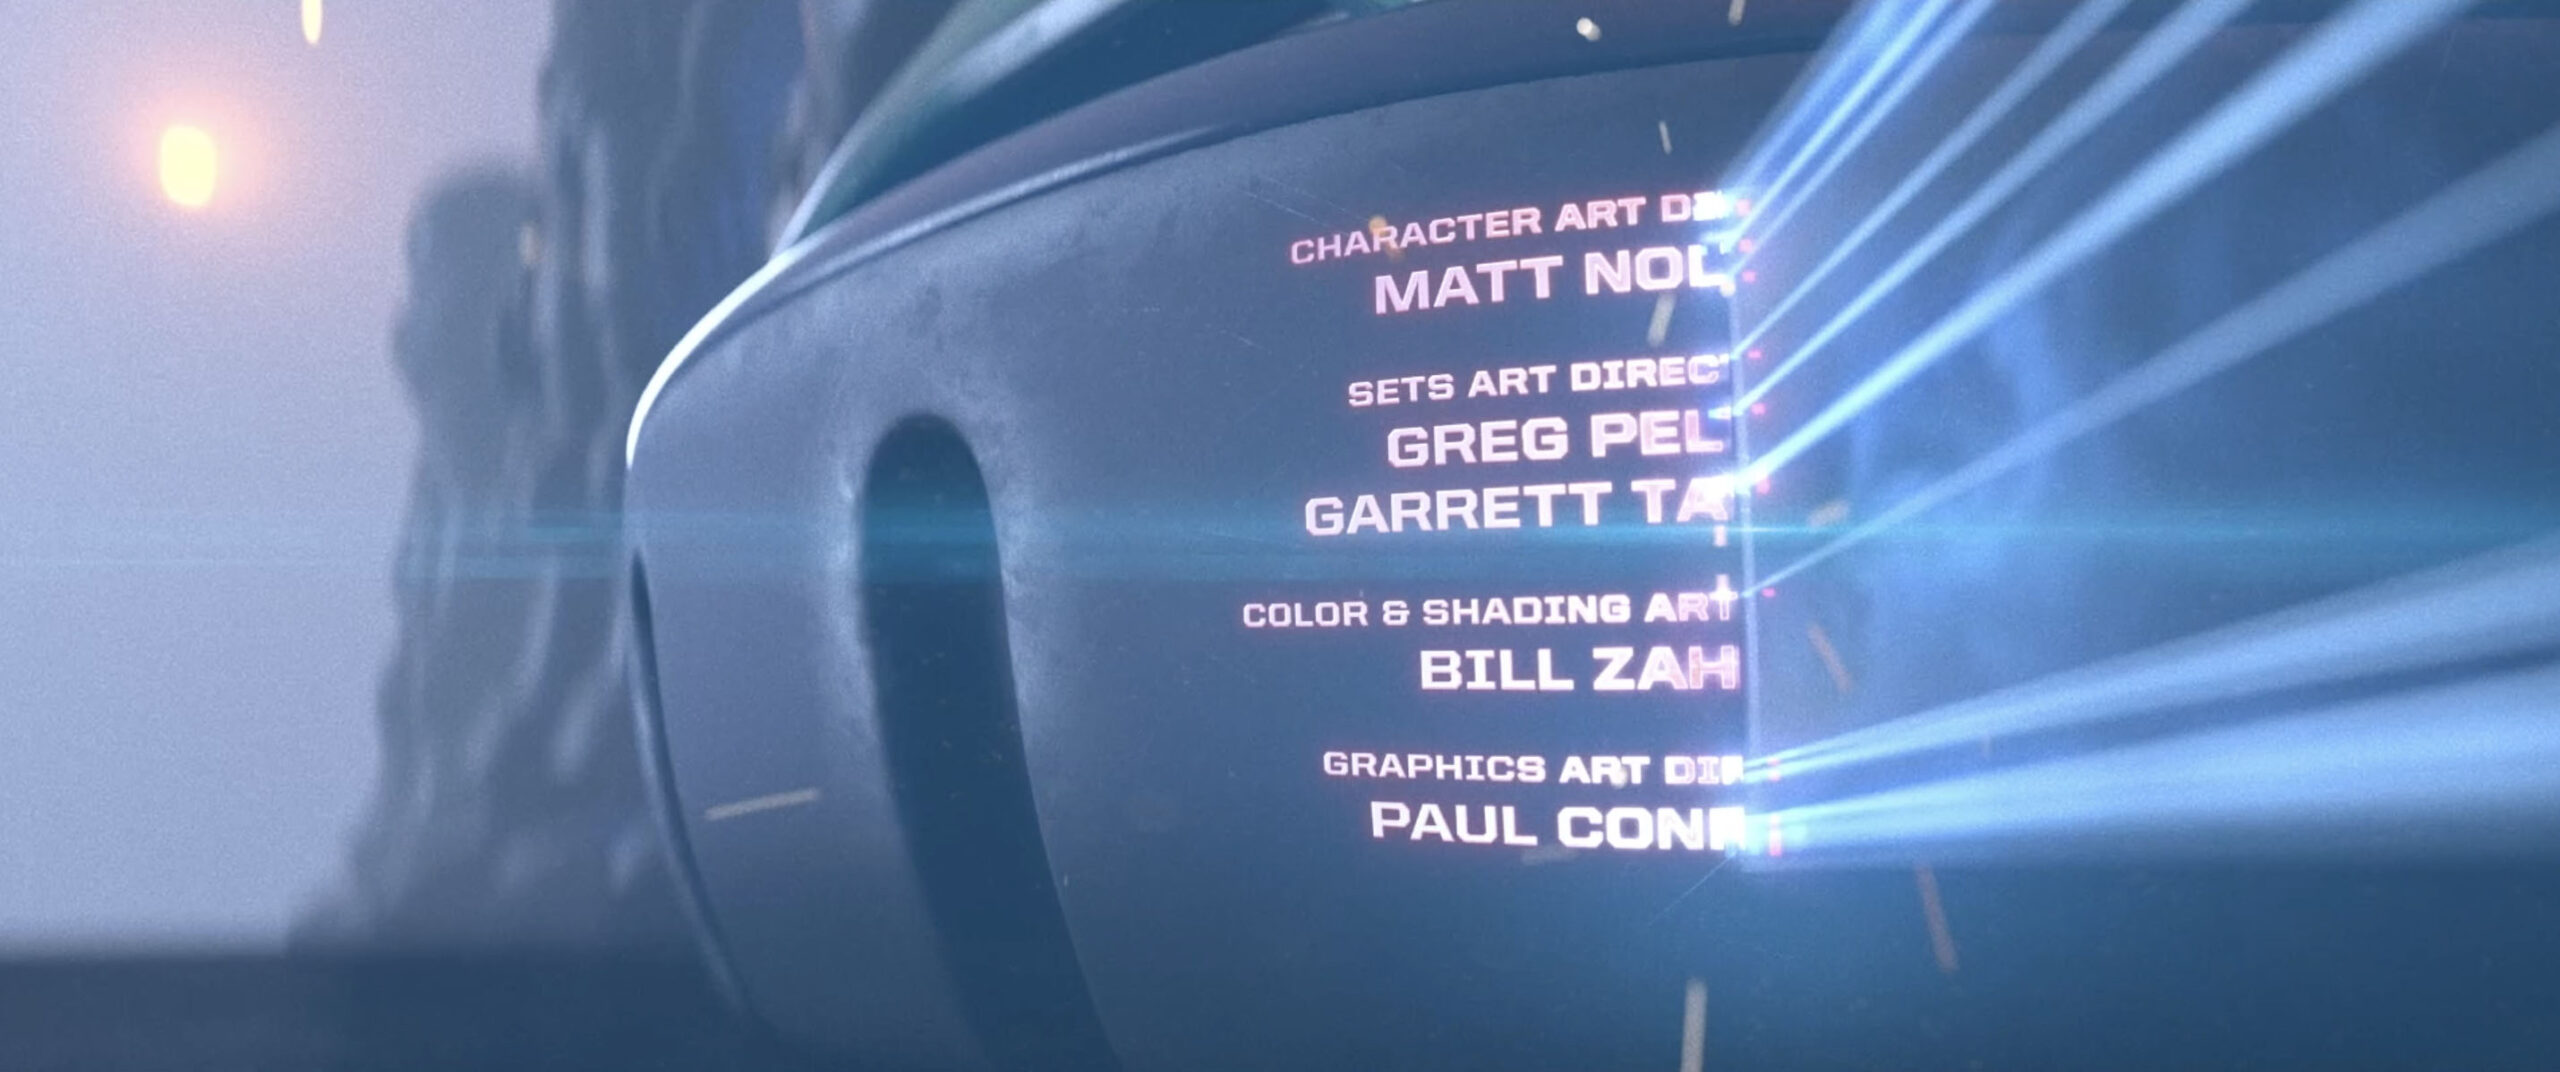
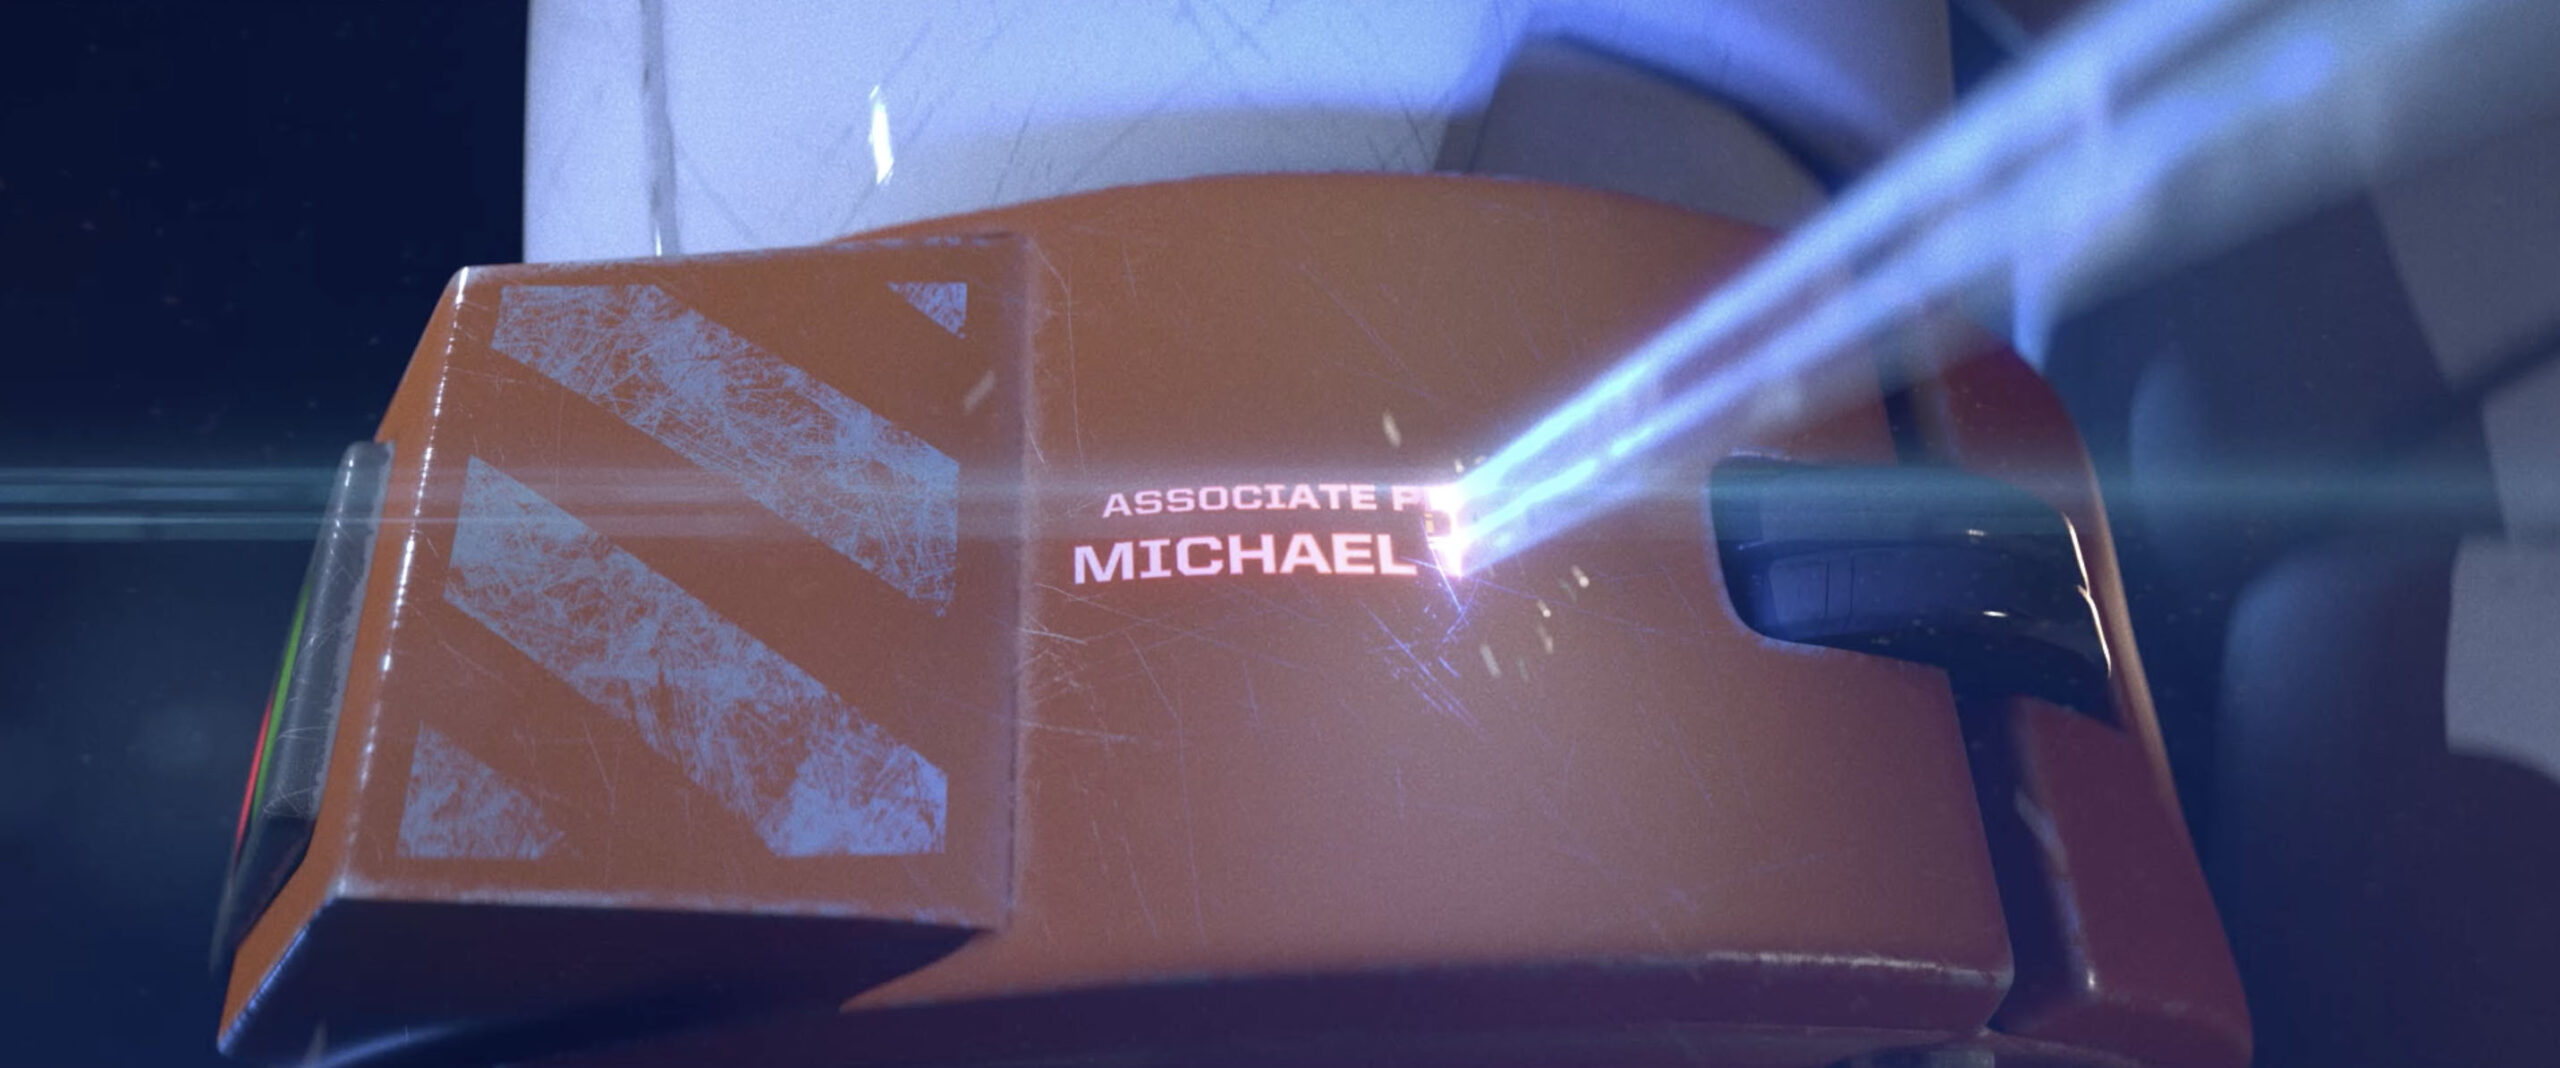
LASER ETCHING
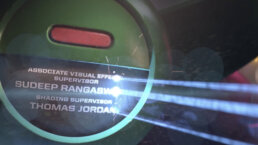
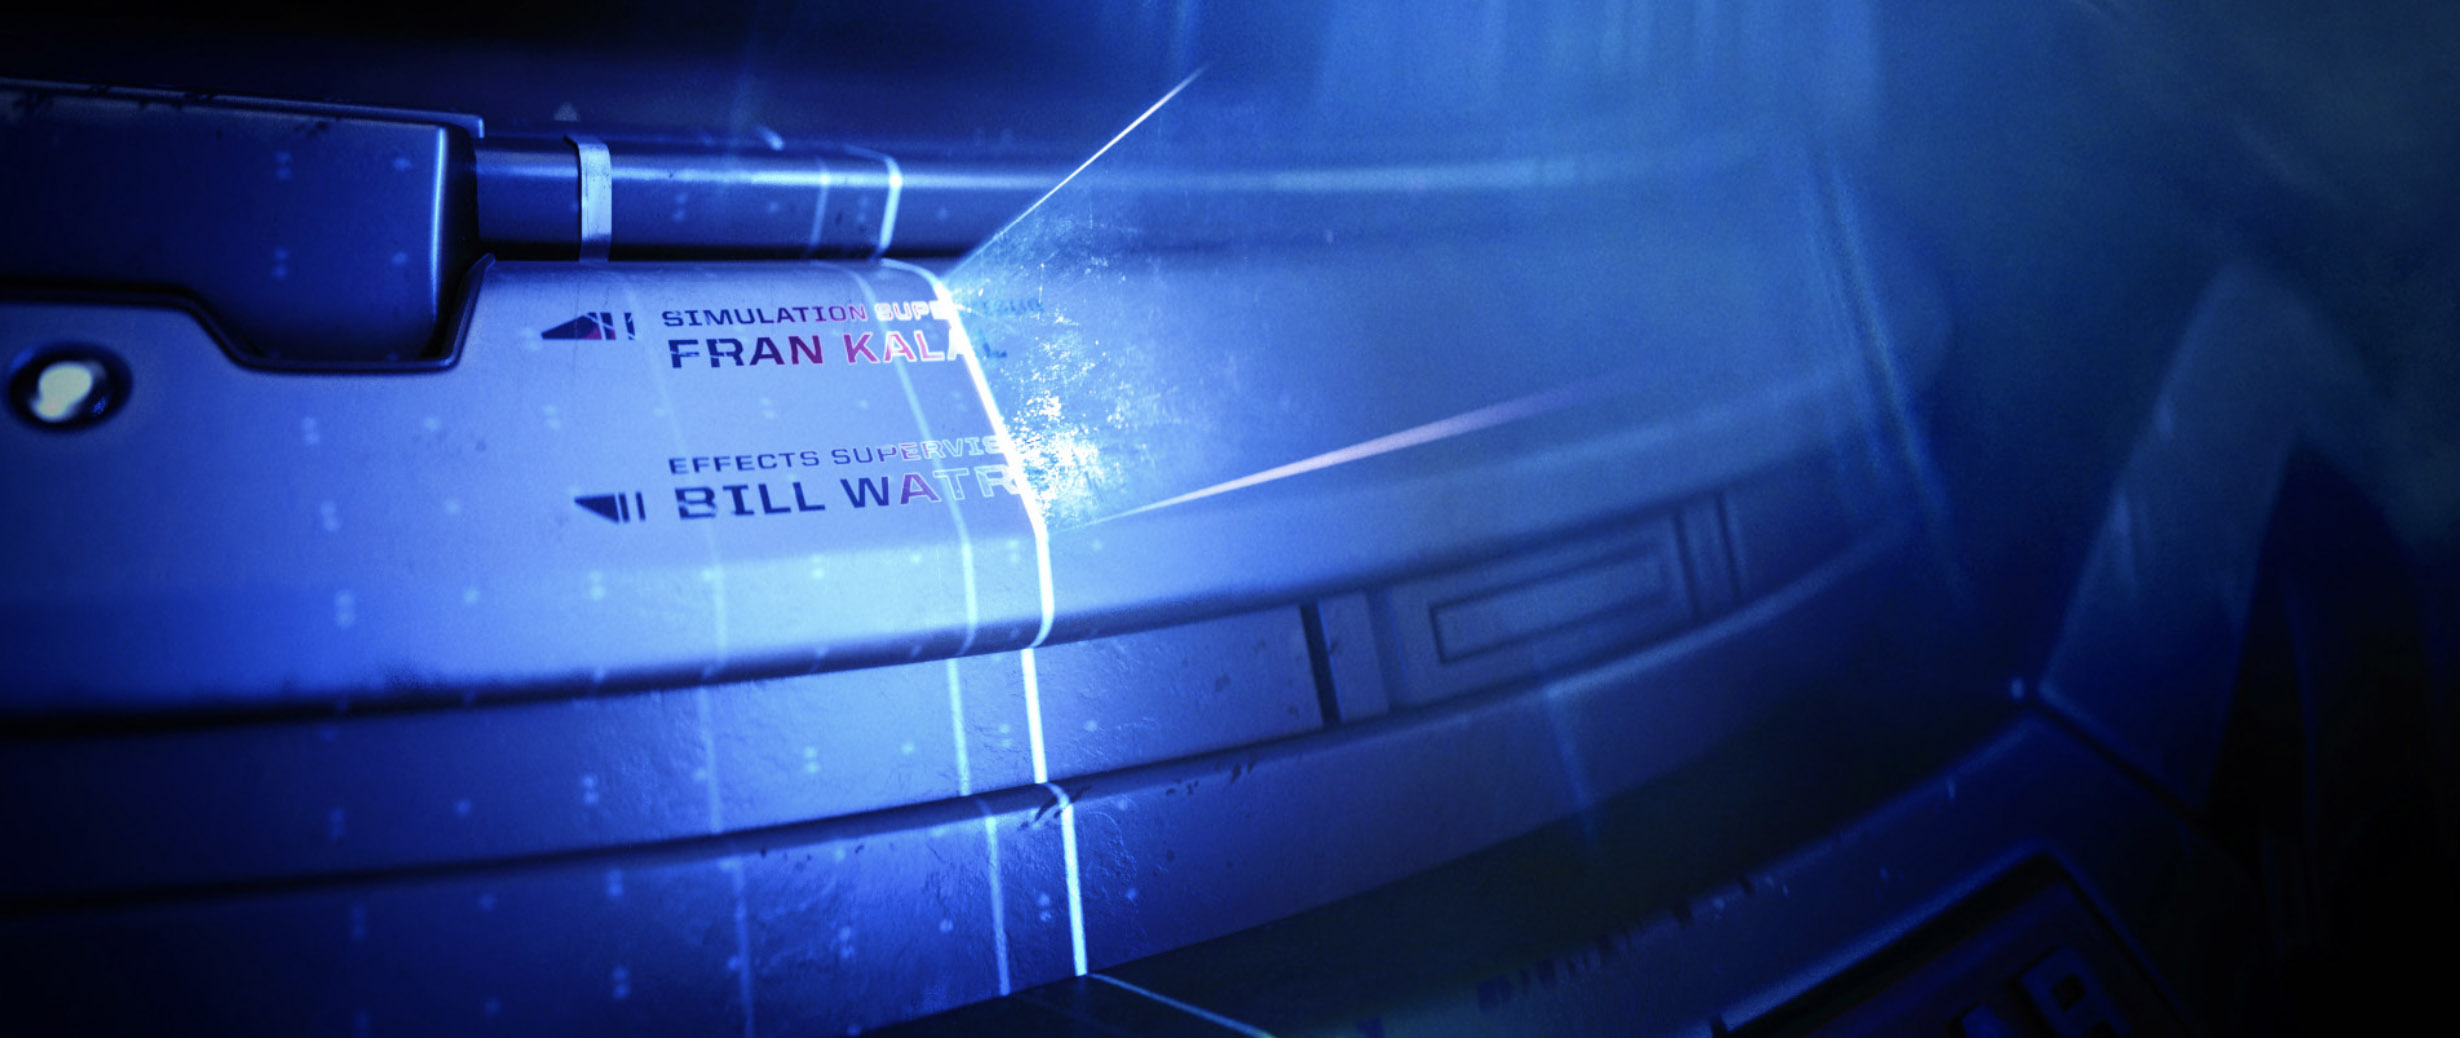
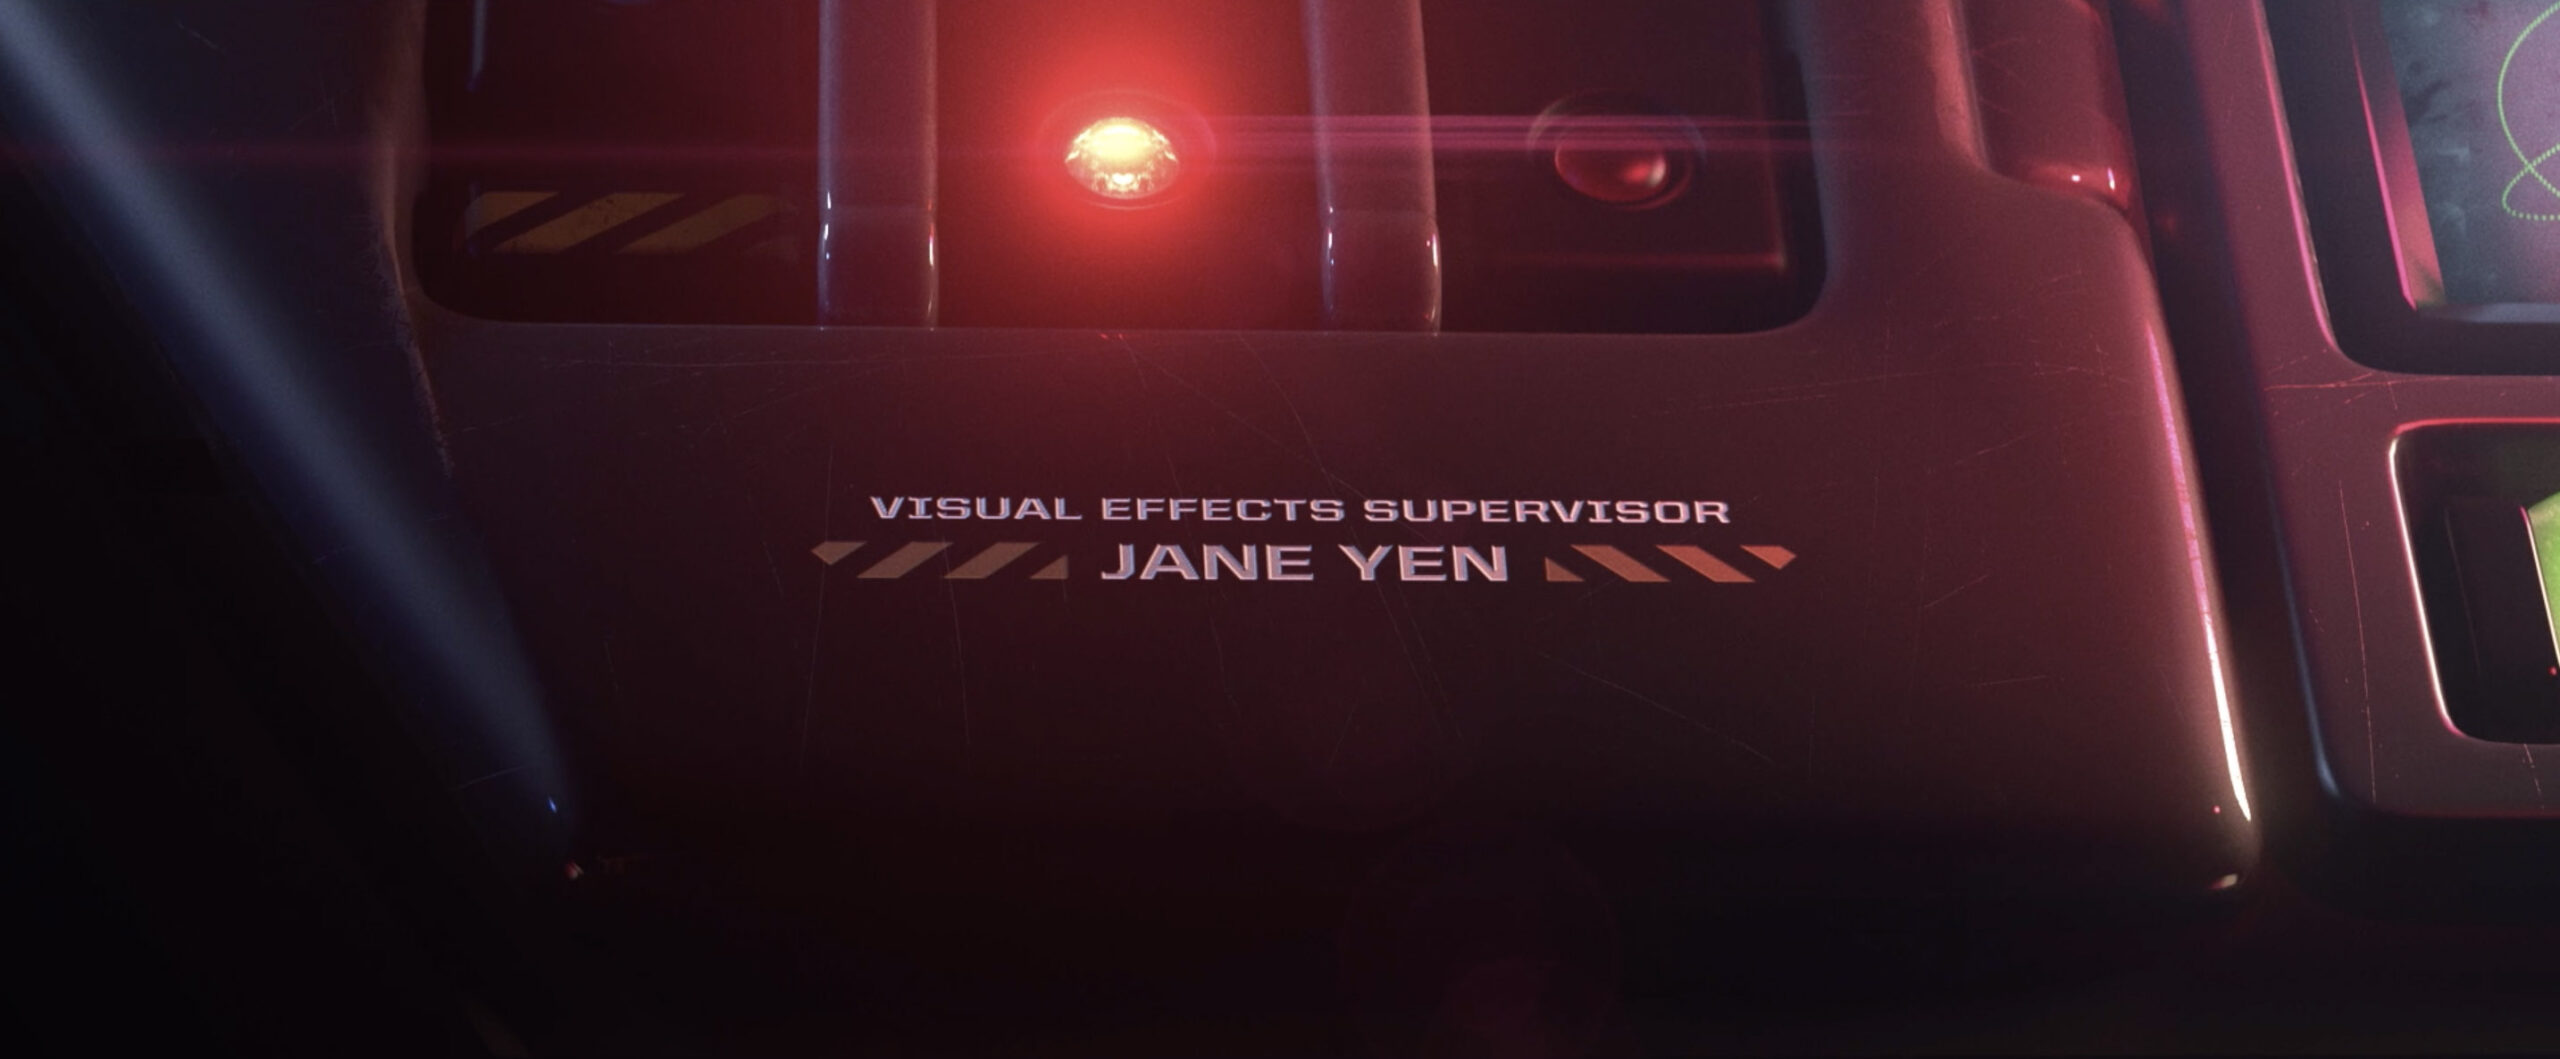
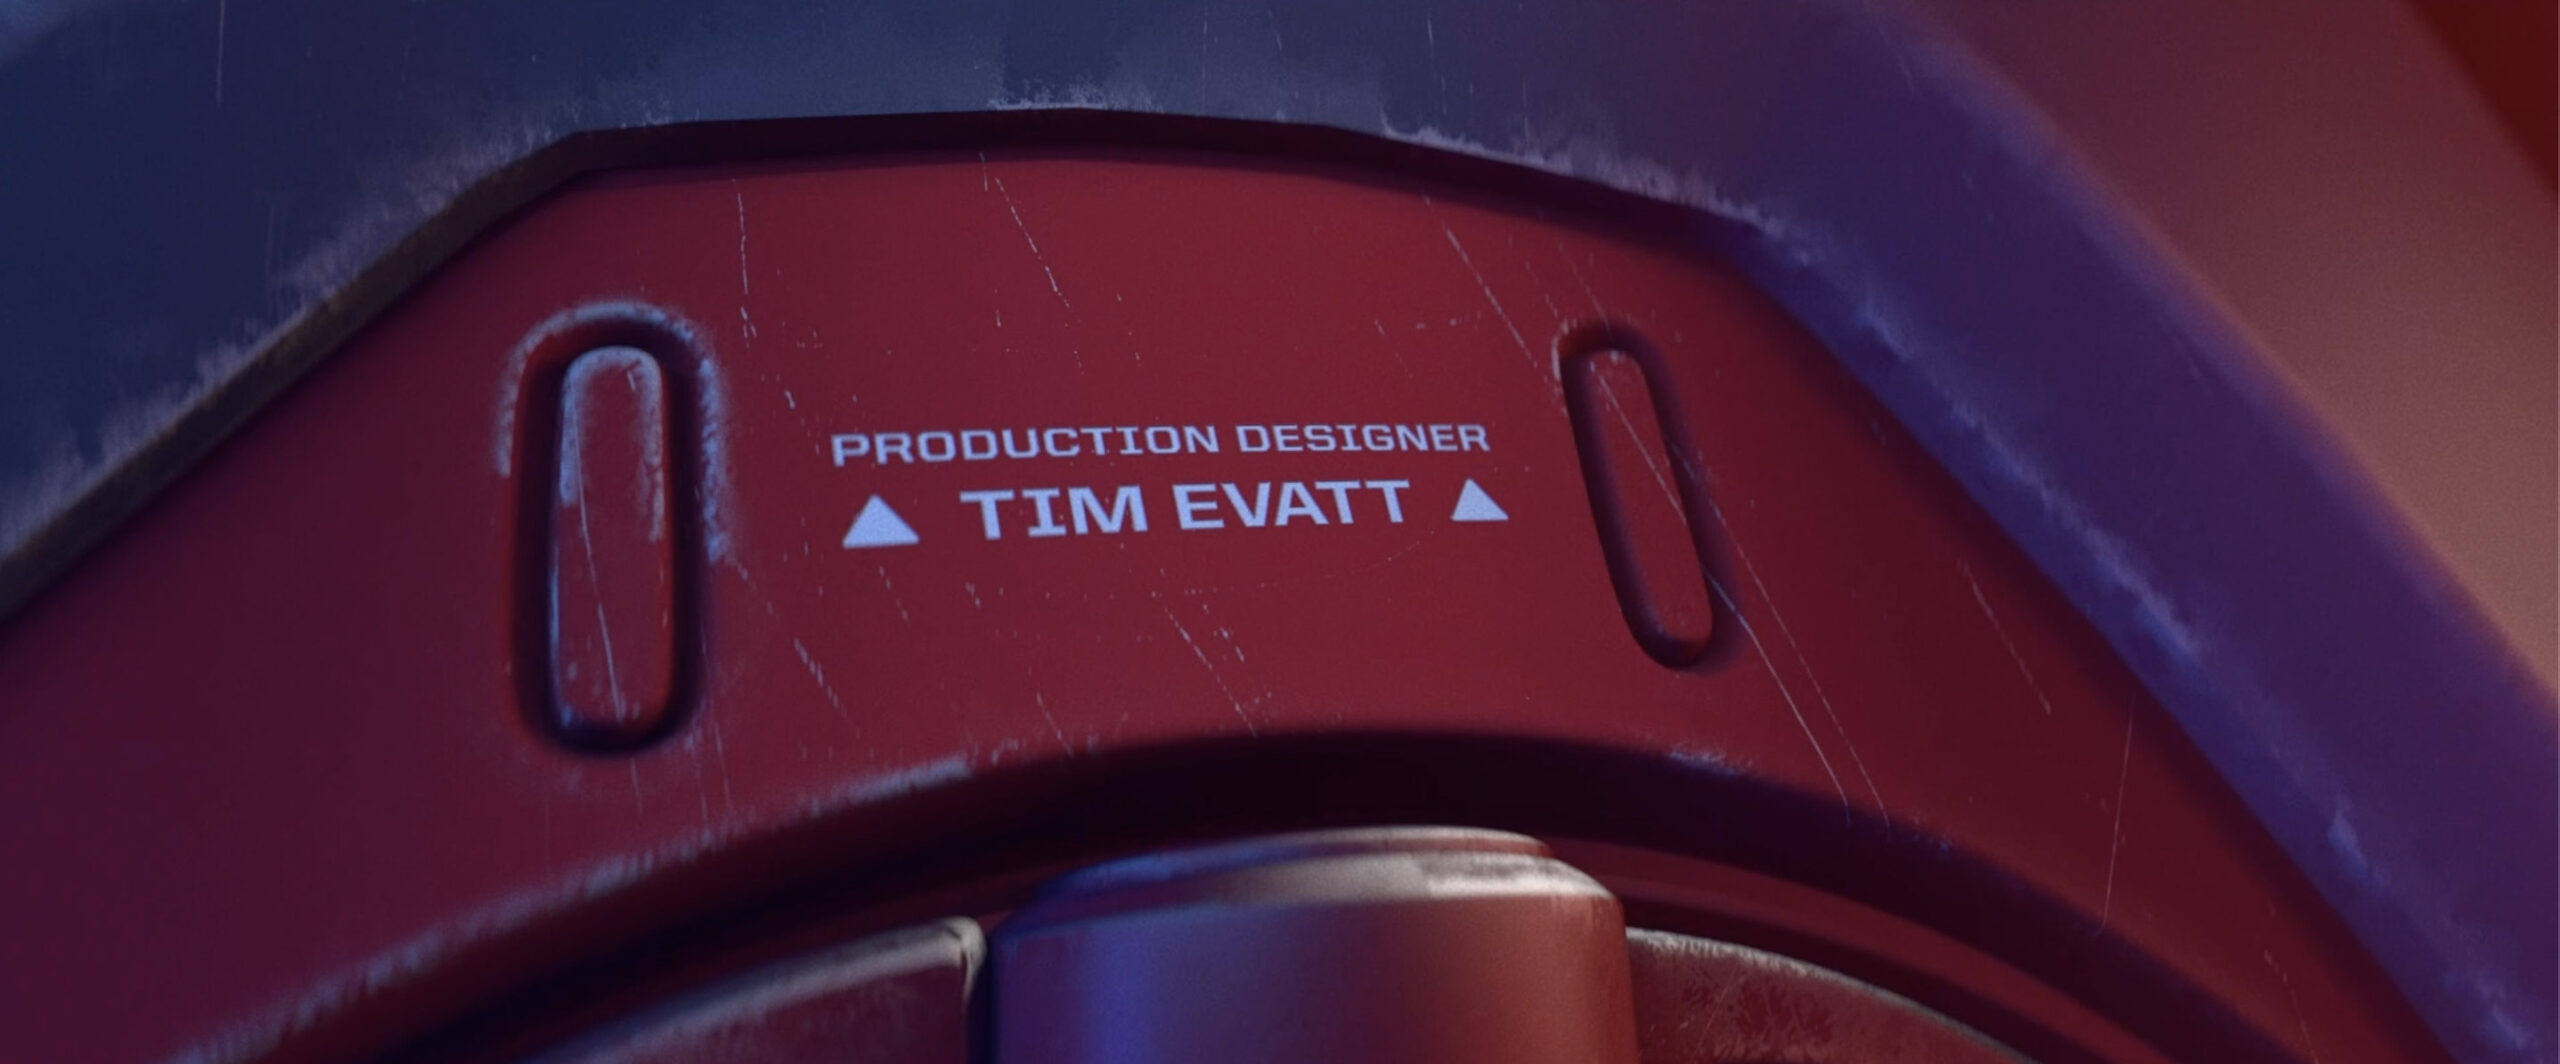
A common element amongst nearly all science fiction films is the inclusion of lasers. We incorporated lasers in through the burning and etching of names into the suits and ships within the sequence.
FIRST LASER ETCHING MOTION TEST
With everything we create, we always like to base our designs in real world technology and findings. To develop our laser effect, we began by researching different types of lasers and how they operated. Some of these lasers included practical lasers, such as ones that are built to remove rust or make labels. We studied how the different types of lasers moved, reacted to light, and what effects they had on the surfaces they touched.
We crafted a list of questions to help us classify and detail each type of laser. Are these lasers just a light on a surface? Is the laser burning something off of the surface, and is that resulting in smoke and floating particles? Is the laser in a clear space so it appears as a perfect, straight light, or is it in a foggy room so it’s illuminating smoke around it? We collected these references and began crafting our laser effects.
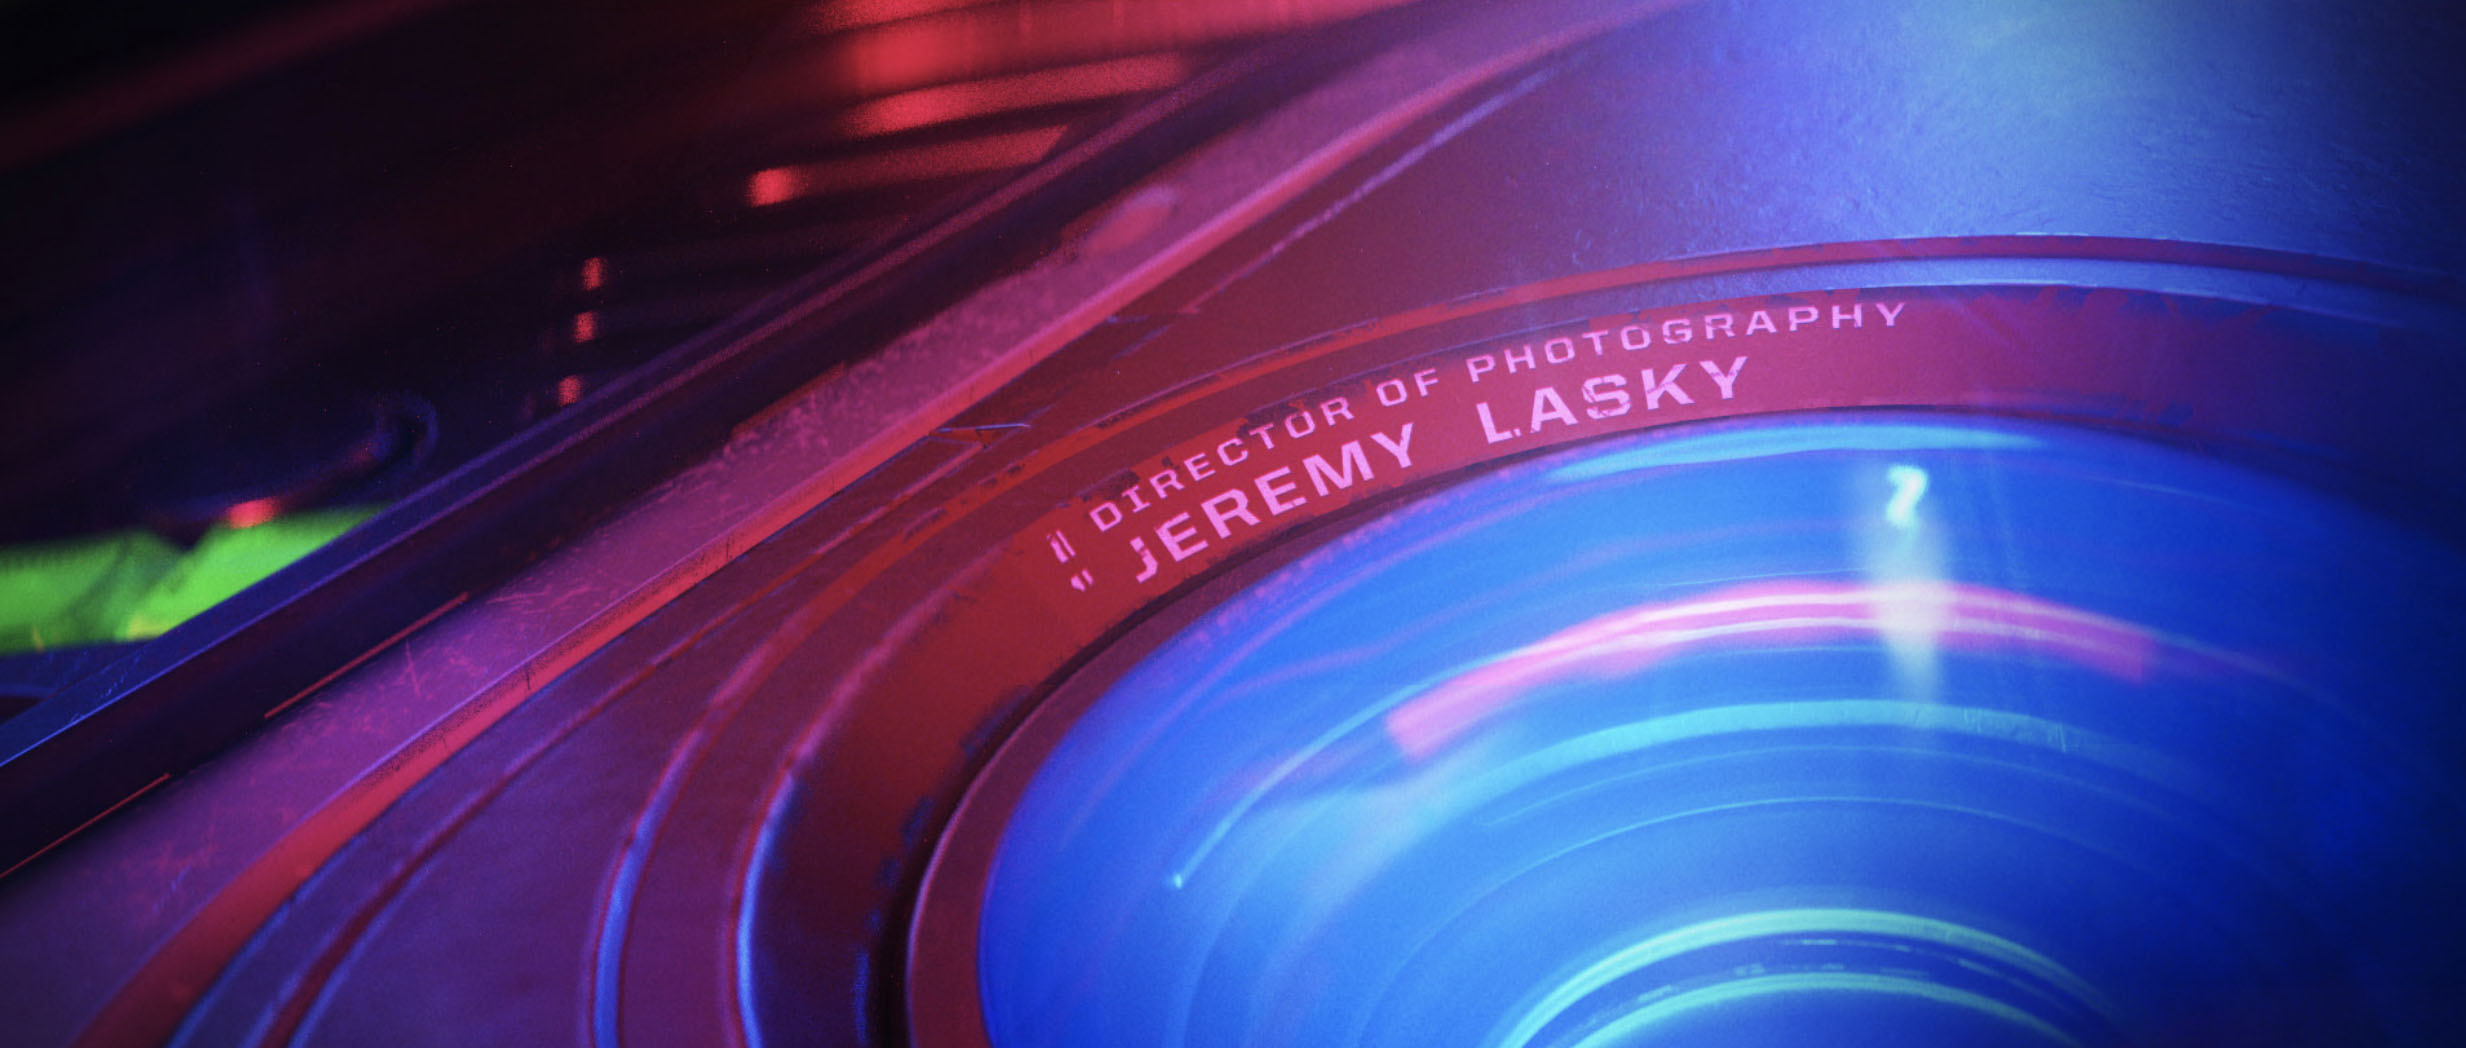
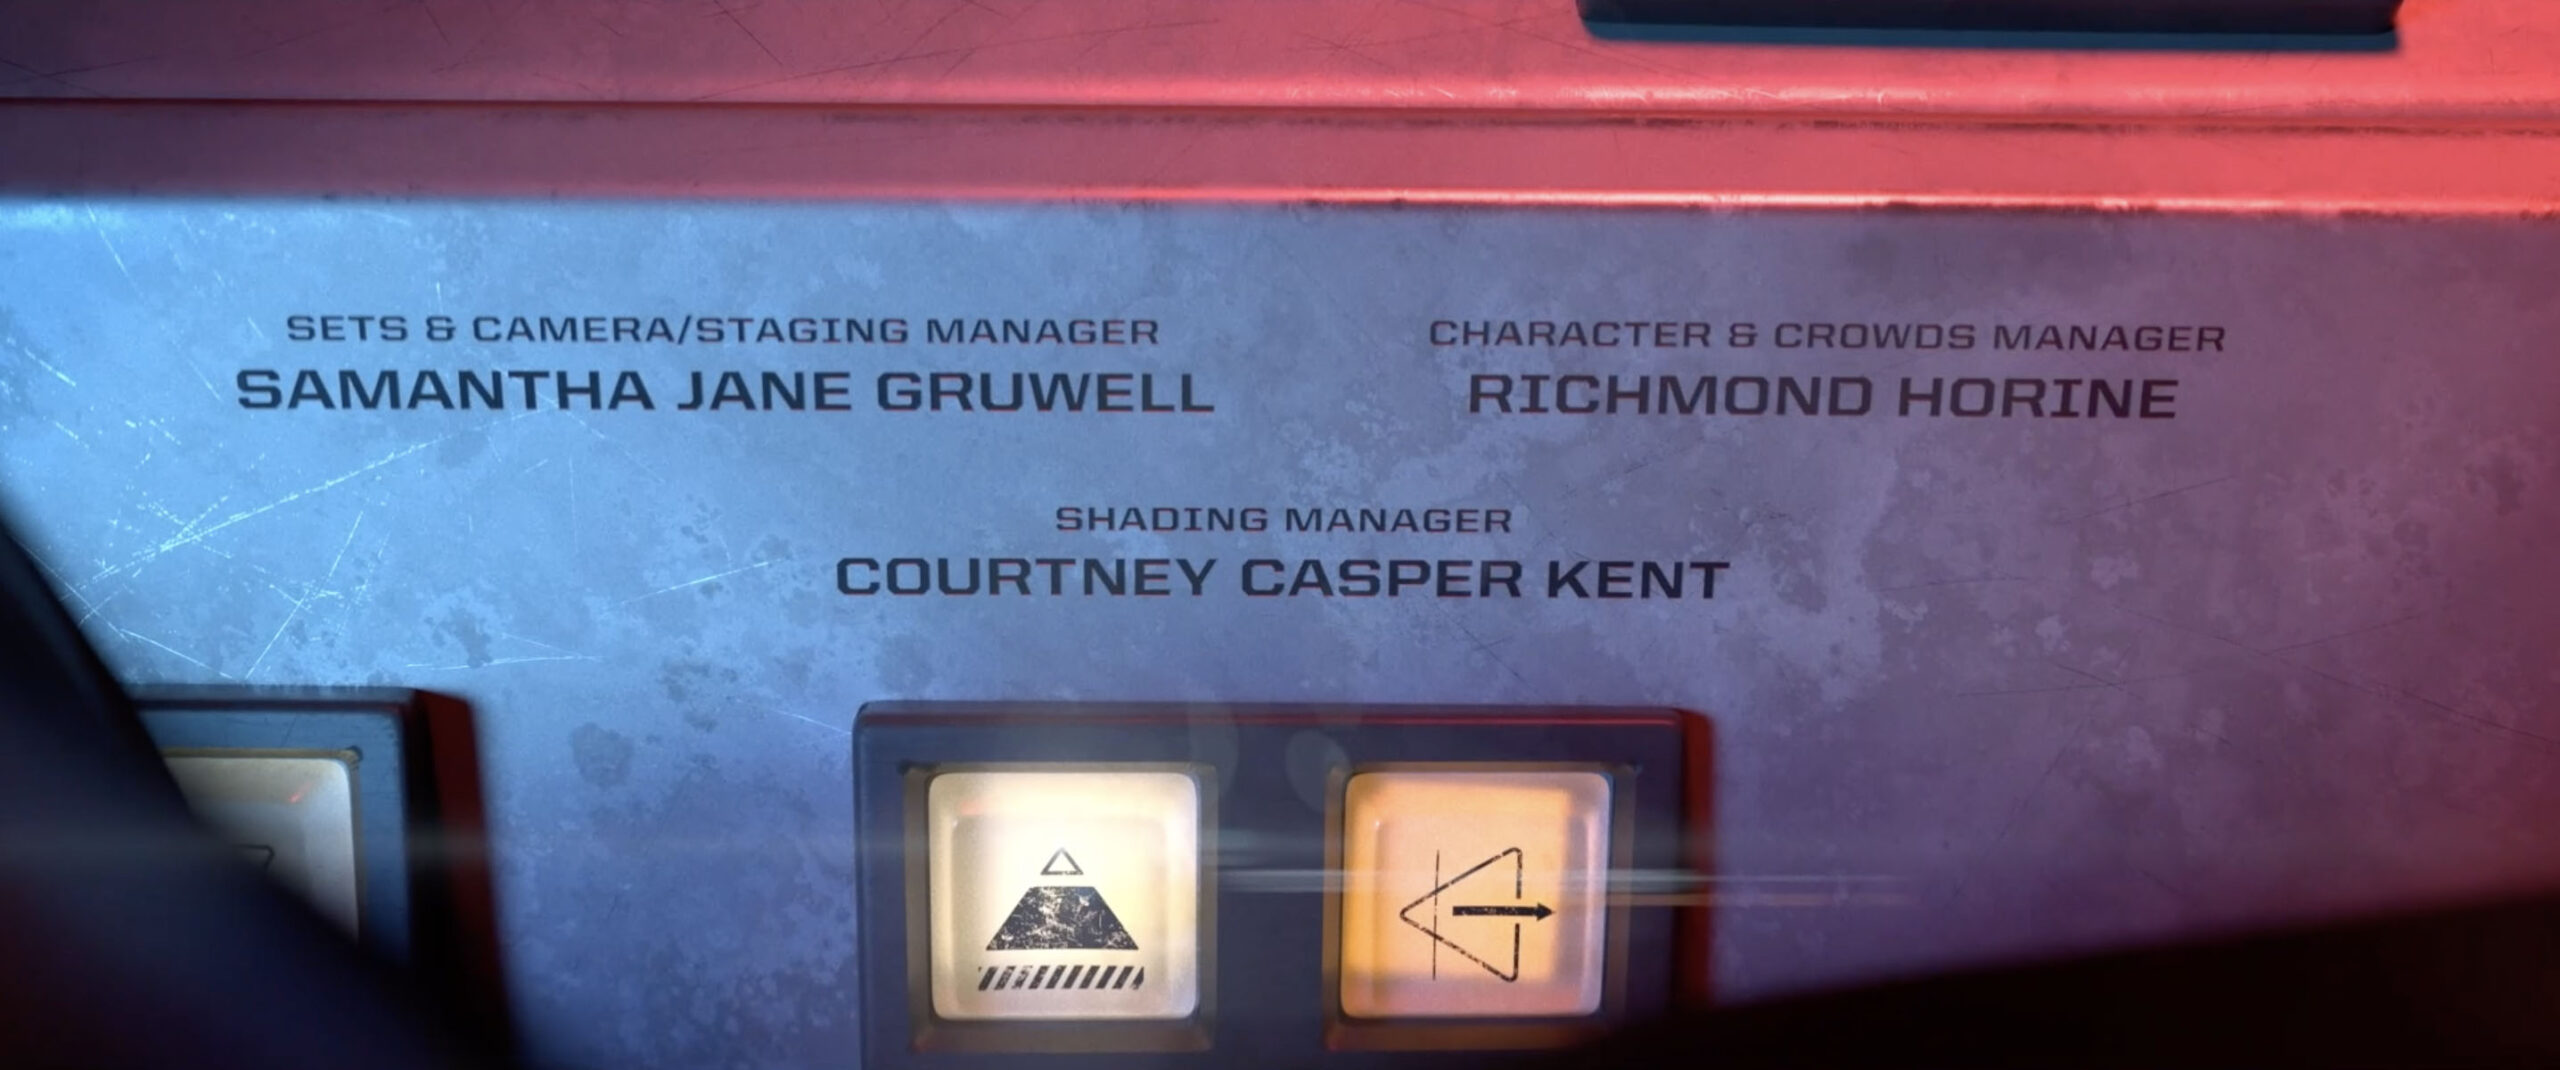
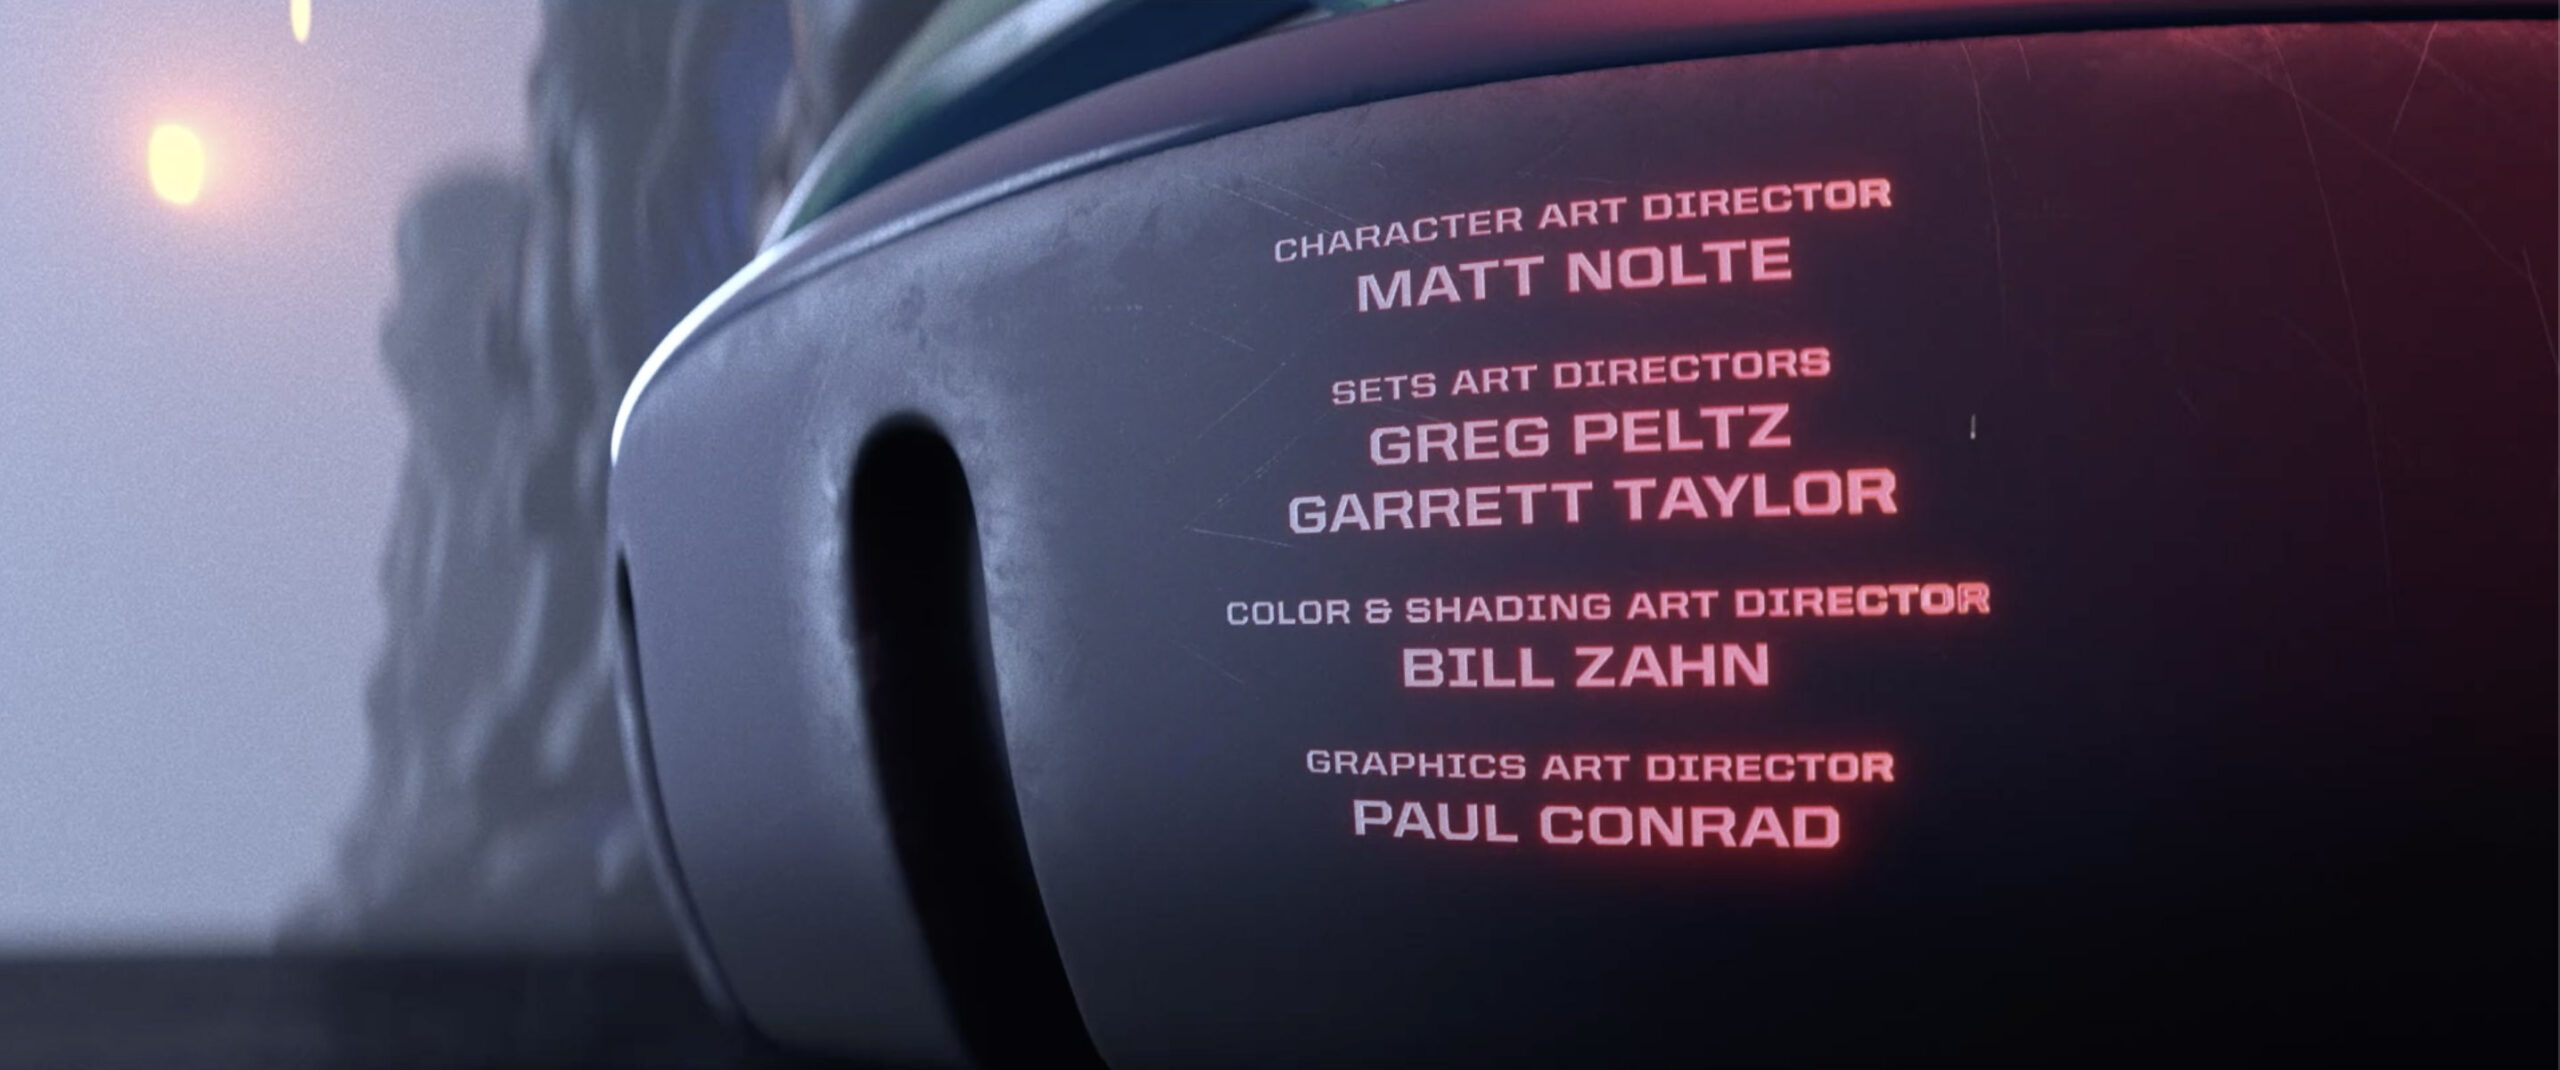
SECOND LASER ETCHING MOTION TEST
We developed motion tests and reaction tests to land on several variations and options of lasers. We then tested each variation with smoke, heat, light, and calibration effects. Based on our extensive research, we discovered that a distinct level of detail was added when we included a cooling effect on the names that were burned in from the laser. This cooling effect added elevated dimension, color, and movement to their respective frames, while also expanding on themes of realism.
07
CREATING THE LASER EFFECT
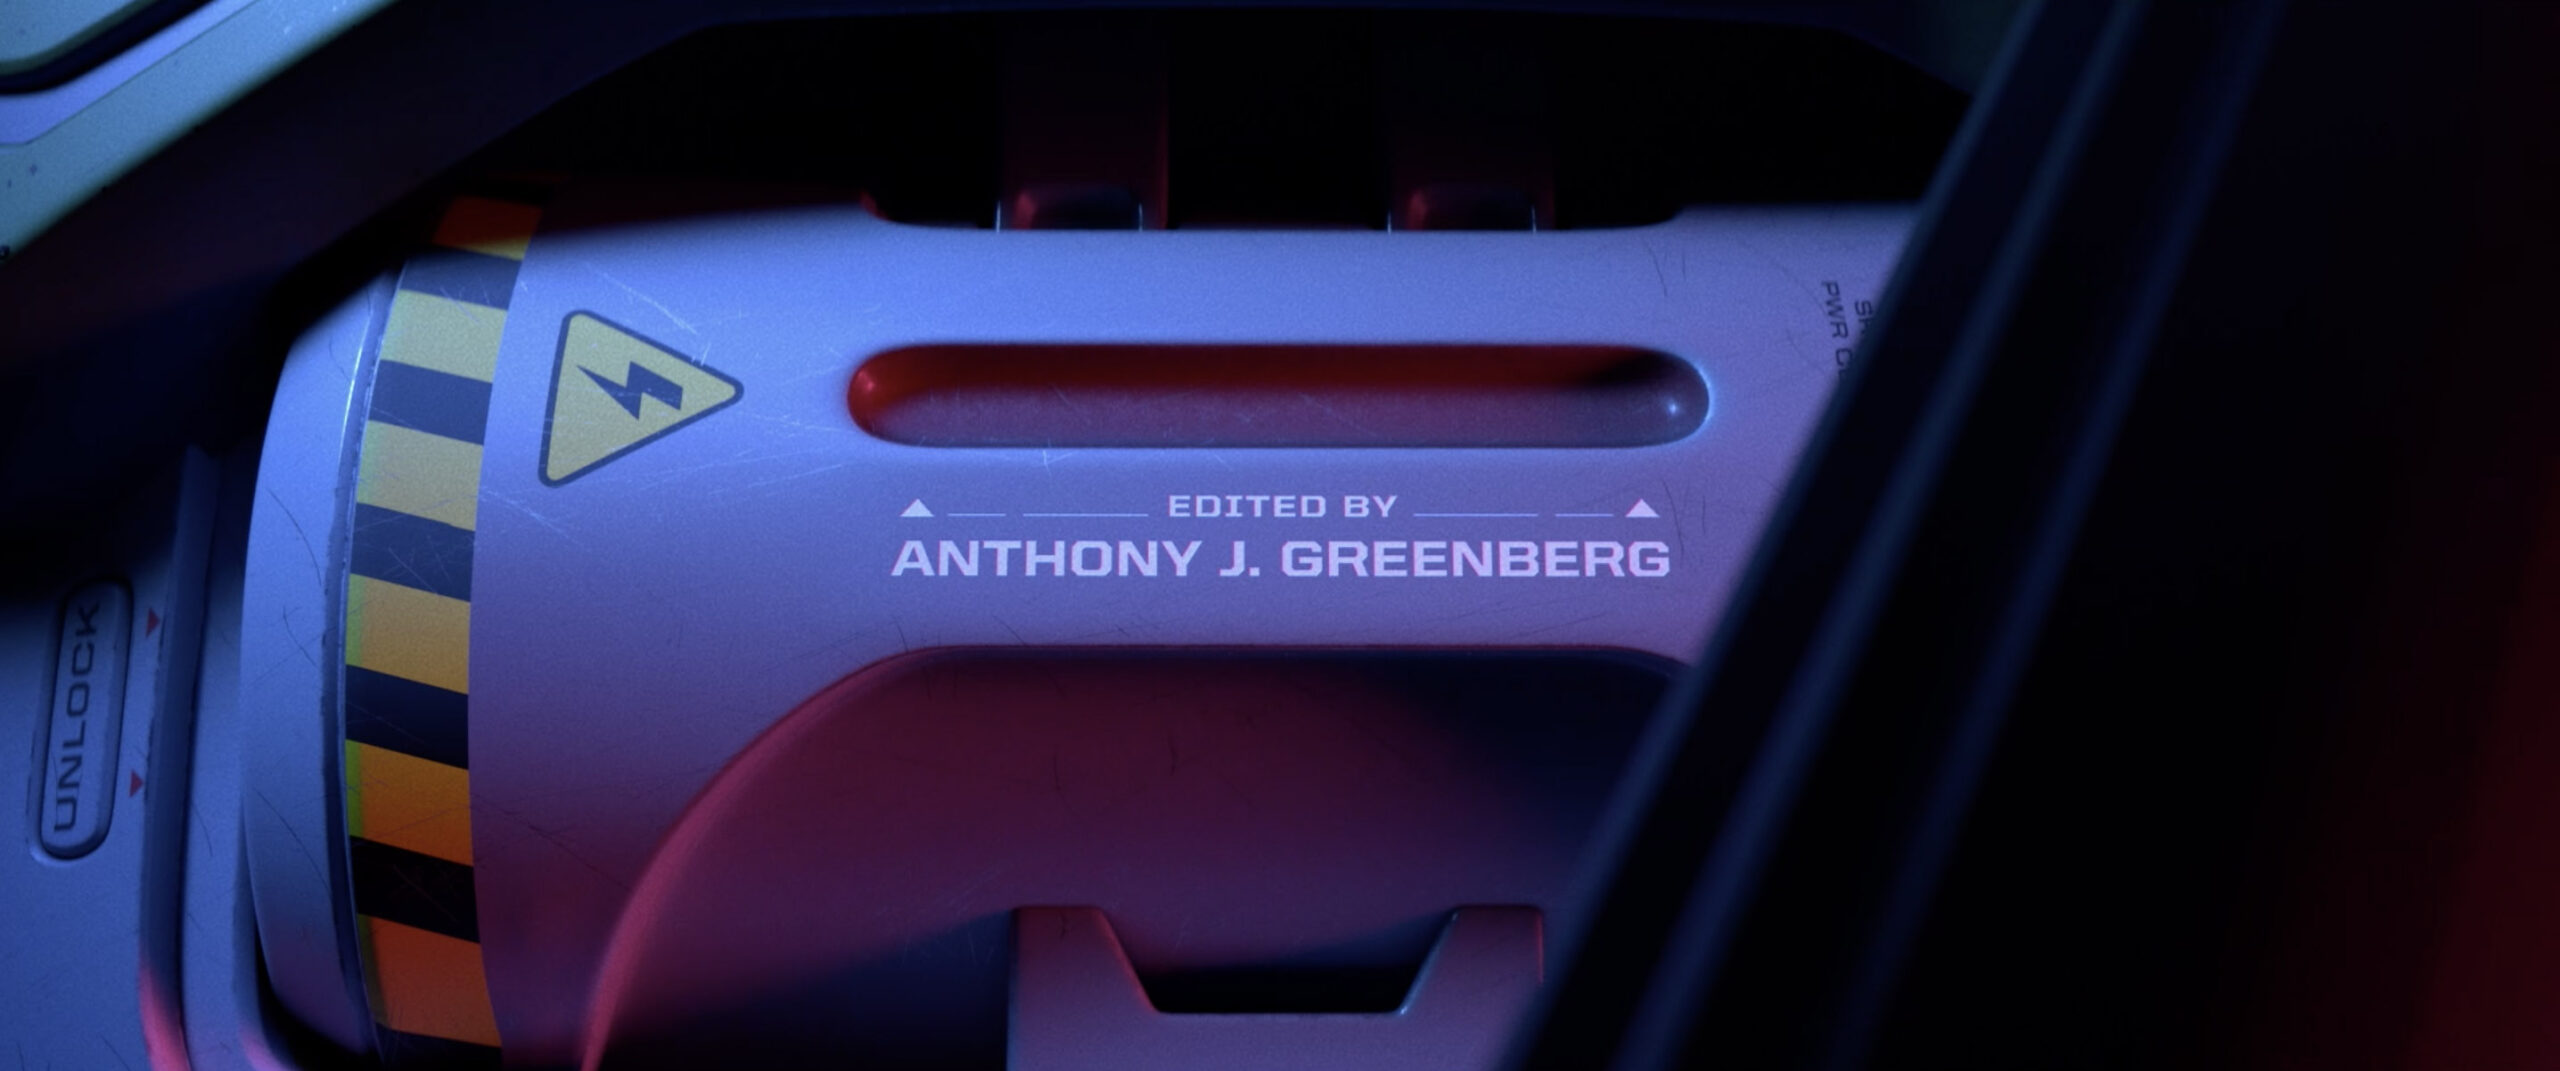
We began by developing the laser effect in Adobe After Effects. We generated names to be rendered out as 4 different passes: the solid name, an outline for the name, cooling laser effects for the name, and the leading edge of the name. We then animated the name and rendered it out.
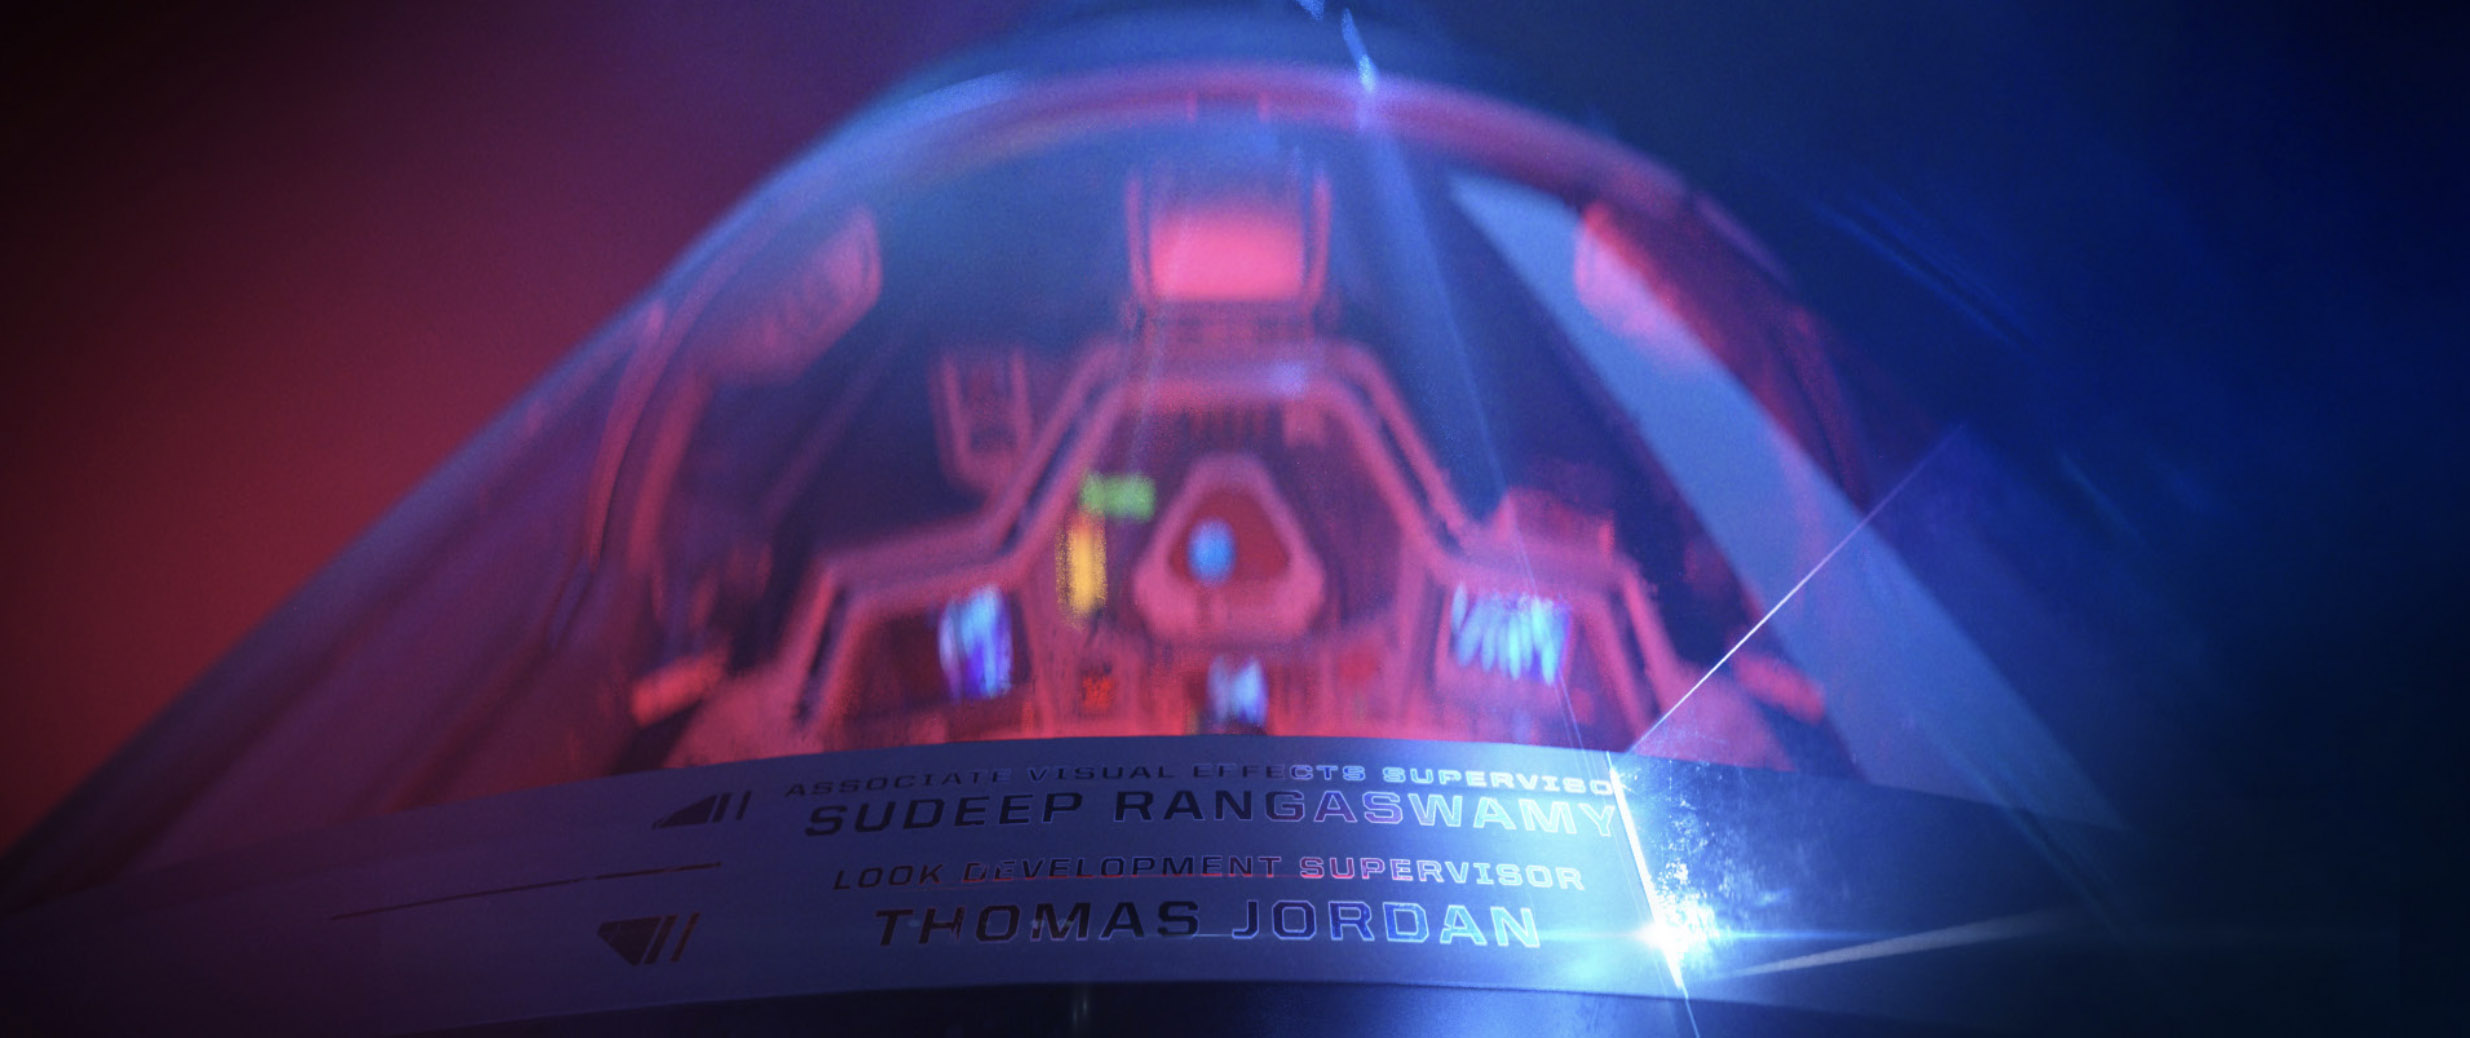
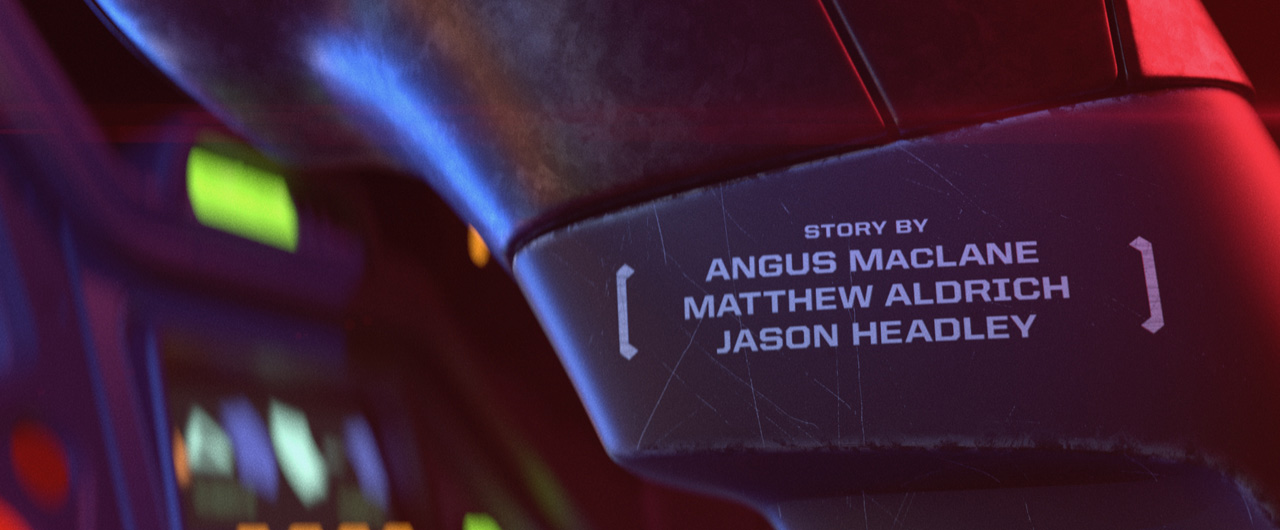
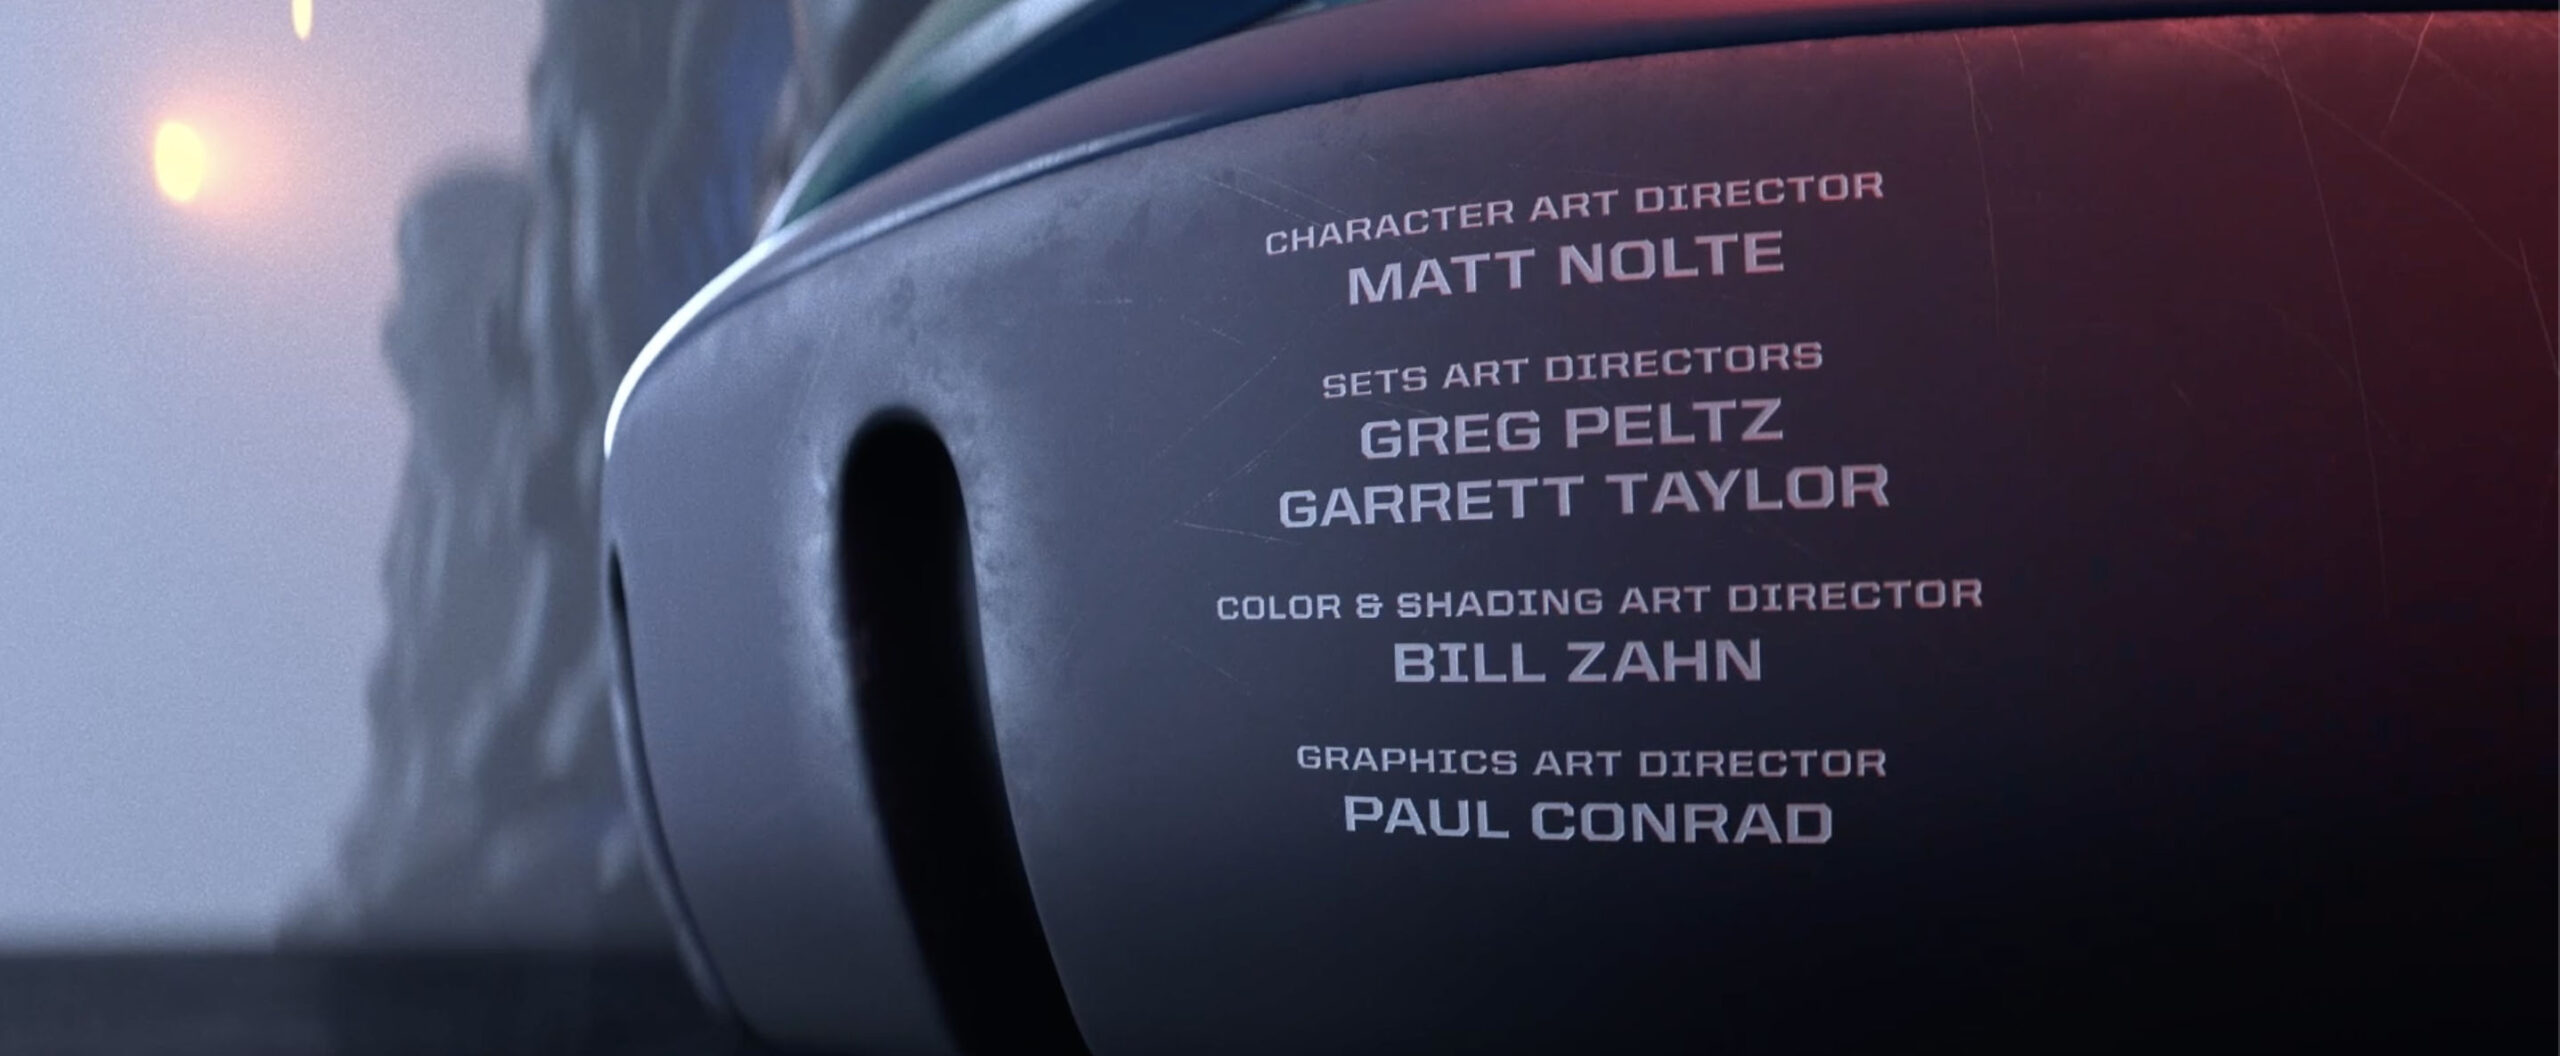
THIRD LASER ETCHING MOTION TEST
The effect was then moved into Cinema 4D, where the first 3 passes of the name animation were projected onto the model’s surface, such as the shoulder or arm of the suit. This meant that we didn’t have to UV specific parts of the suit and we could ensure that the names couldn’t get distorted as they wrapped around the curves of the object.
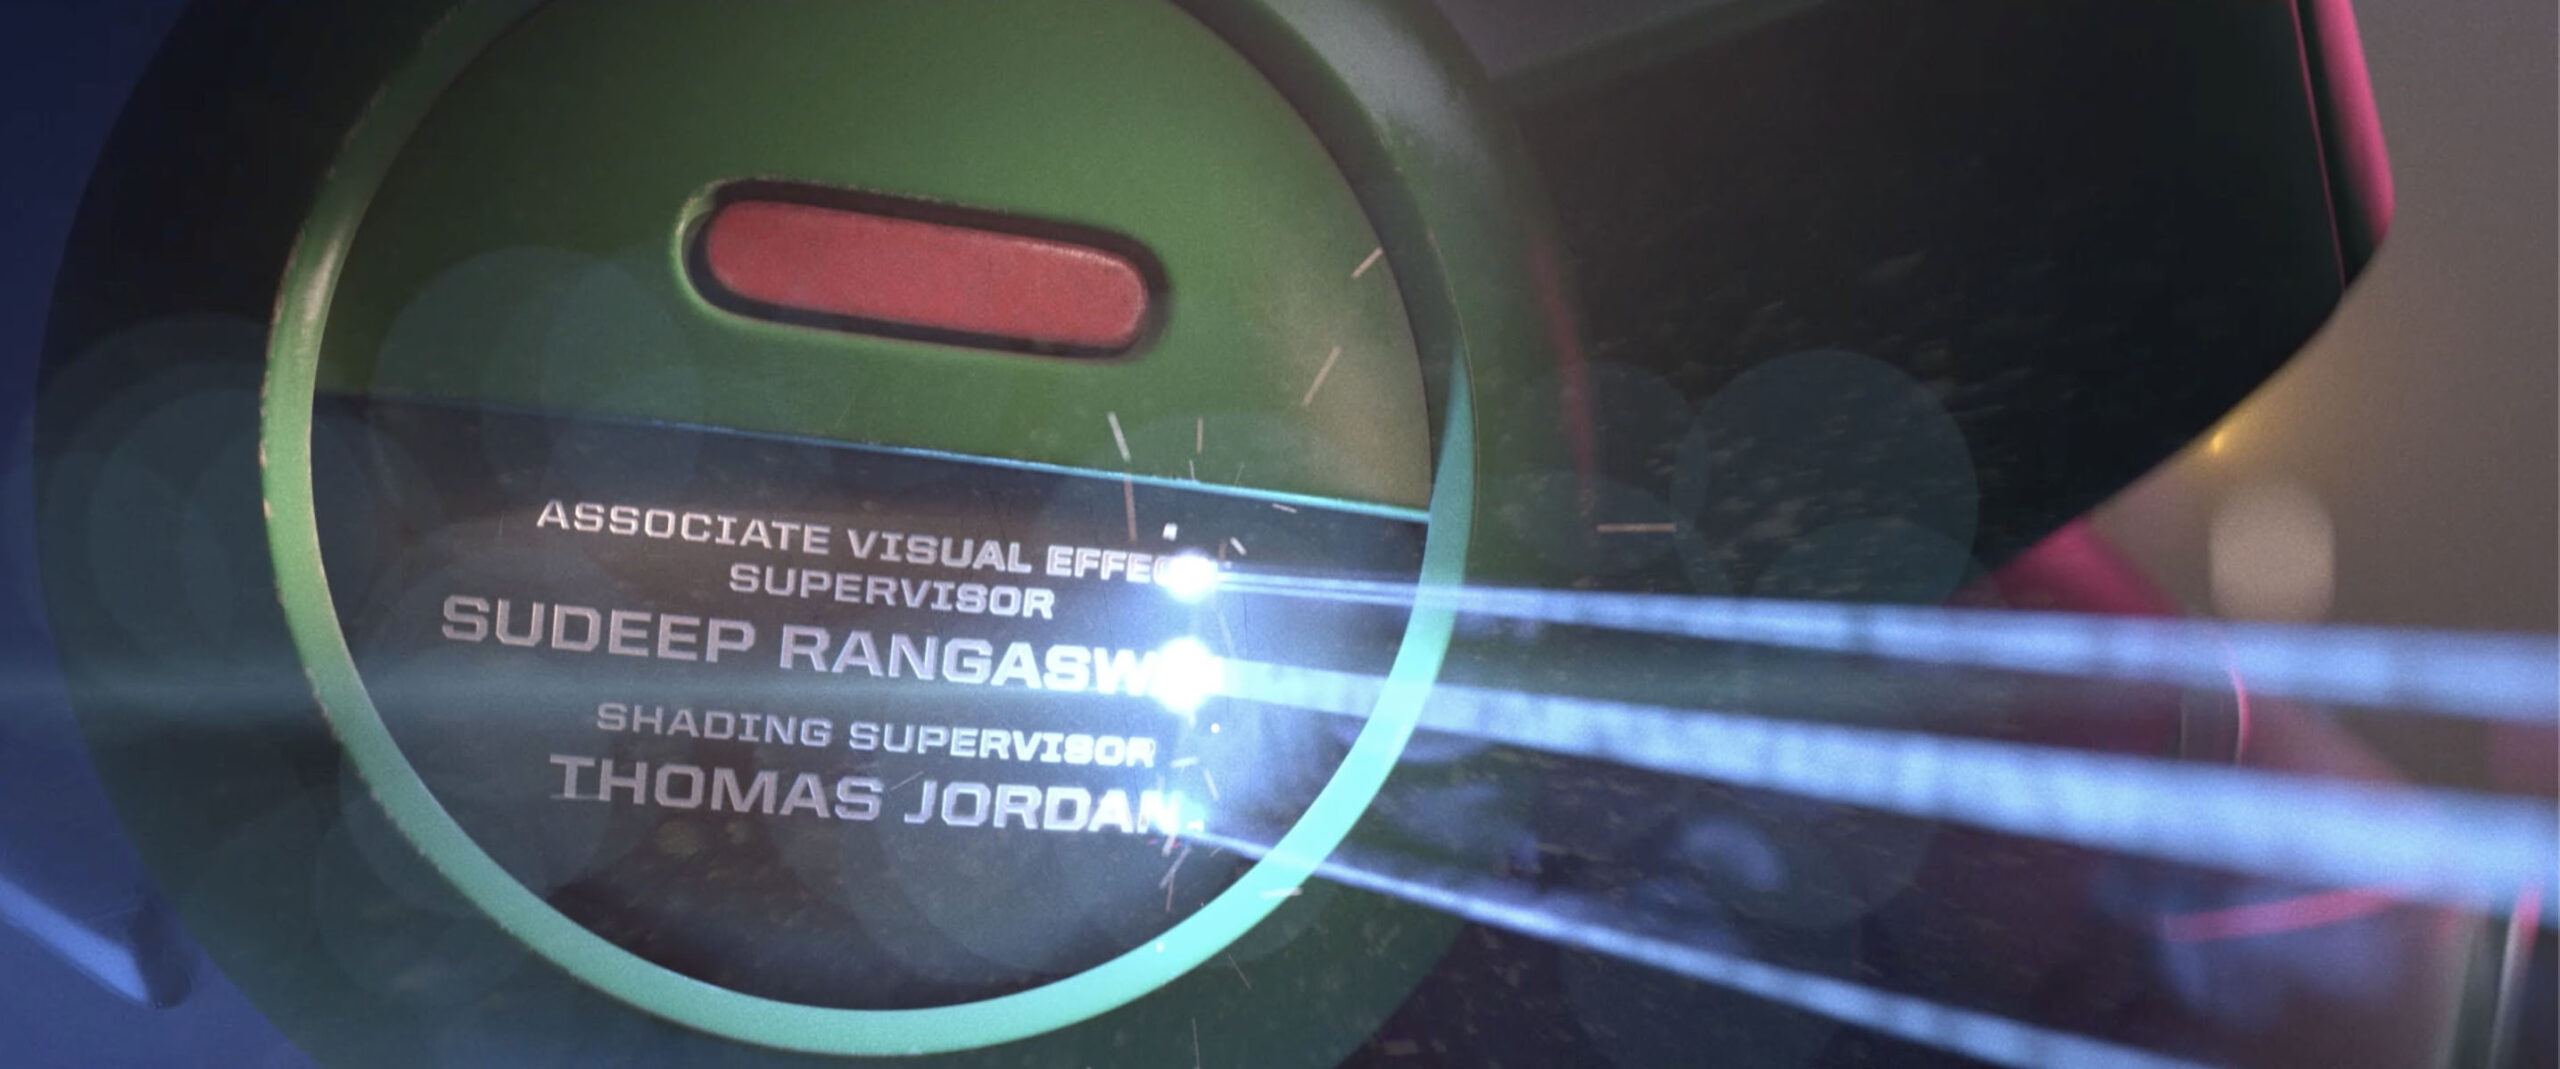
FOURTH LASER ETCHING MOTION TEST
Then, we would generate our laser, which consisted of 4 different lights that were projecting in. The first had a smoke texture, the second had a volumetric light, the third was just the edges of the light, and the fourth one used the leading edge of the name animation, which is how we got the lines of the name into the laser itself. All of these lights got combined together to produce the laser effect. Finally, we take those different passes and combine everything together in composite.
08
BUILDING THE SEQUENCE FRAME BY FRAME
Our process of building this sequence began with finding unique compositions and the objects we wanted to focus on. We conducted several camera tests to find our hero moments. These tests also served as ways to see where these objects should exist, discover the best ways to travel to them and how the camera could move around them. This influences how the whole piece feels.
SUIT PAN CAMERA TEST
Once we landed on that perfect moment, we began building out our materials, lighting and rendering. Most of the materials we built procedurally. For example, we would create one green metal material that would apply to all of the green metal in the sequence, so we would not have to hand paint every individual metal piece. For specific features and objects that were more important or notable in the sequence, we would build a specific texture for them.
ROTATION CAMERA TEST
We wanted this sequence to feel like it was one consistent camera movement, seamlessly transitioning from one moment to the next. We focused heavily on refining these movements and the in-and-out movement of those motions to make everything feel smooth and natural. For this, we really dug into the animation aspect with the Pixar team. We collaborated on making sure the animation was perfect, studying every possible movement, pacing, and transition. We were also provided with an early version of Michael Giacchino’s score for this sequence, and we used that as a reference for timing and pacing of the camera movements.
REVOLVING CAMERA TEST
Once we approved of the camera animation, textures and lighting, we rendered the shot. For shots that involved the laser effect, more technical planning was involved to ensure the lights of the laser lined up with the textures.
Once we had everything rendered, the project got brought into Adobe After Effects for the composite. We got a majority of our look out of the render so we had very little composite work to do. Because we were building this sequence in stereo, we wanted to ensure this was consistent in our 3D renders so that the left and right eyes matched.
EXTENDED CAMERA TEST
In the composite phase, we added lens flares, glows and did a color pass to guarantee our colors were rich, vibrant and in line with the film. We also did this to confirm that our colors were working for an HDR color range, since this film was eventually going to be on the Disney+ streaming service. Our color work was to make sure that we were working within our 32 bit float values. The final edit was then rendered. This entire process took place using Cinema 4D, Redshift, and Adobe After Effects.
09
INTRODUCTORY CARDS
Our team also developed the “Disney Presents” and “A Pixar Animation Studios Film” cards. Using a slight revolving animation, these silver words have a sheen that reflects the red sparks detailing the card. This design was also inspired by science fiction films with an added industrial flare.
The introductory cards played an important role in this film. We wanted it to be powerful and shocking when the audience first sees these cards. This moment in the film comes right after a ship crash lands on a planet and the screen cuts to black. This is a very serious, important moment. By having the film cut to black and then having these scratched up, metallic textures slowly fade in with fire illuminating them and sparks rising, it gives the feeling that this ship has crash landed and everything has fallen apart. This happens within the first 10 minutes of the film, and we built these cards to set the tone for everything still to come.
10
CONCLUSION
It was an honor for our team to collaborate with the innovative minds at Pixar Animation Studios on Lightyear. Building this sequence was a collaborative effort between both teams, where everyone had creative freedom and input into bringing Pixar and Angus MacLane’s vision to life. Lightyear is now streaming on Disney+! To infinity and beyond!